3 presets
Three presets rooted in street photography: documentary black and white, cinematic colour and a soft pastel variant. Free to download.
Free to download

The Observer
All looks on one photo
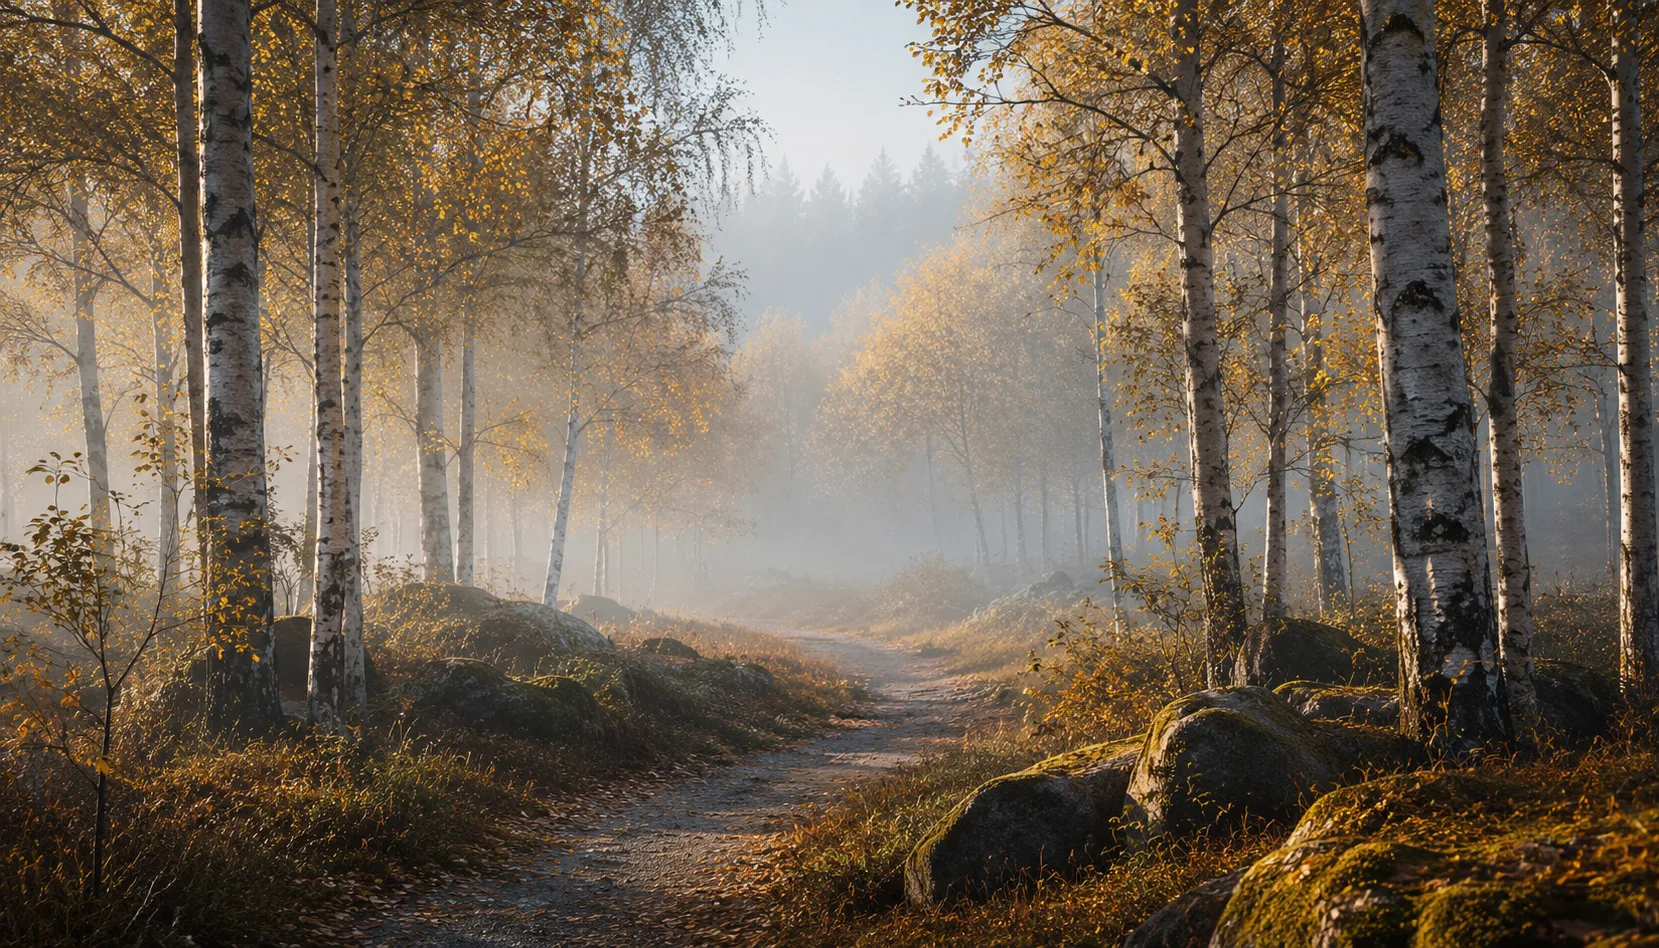
The same photo, every preset. Switch the test image to see how the looks hold up.


About The Observer
The Observer is built around a single idea: looking without judgement. The three presets share the same restrained tone. No heavy filters, no obvious colour shifts. The colours stay close to what you saw at the moment of capture. That applies to the black-and-white variant with its documentary directness, to the cinematic colour preset with its lightly desaturated midtones, and to the pastel variant that feels softer without ever turning saccharine. They look quite different at first glance, but place them side by side and the family resemblance is clear.
This pack was not made for everyone, and that is intentional. The Observer works best for photographers who think documentarily, even if they are not documentary makers. Street photographers who put honesty above polish. Portrait photographers who want their subject to speak rather than be tidied up. Travel photographers who want to capture a city as they experienced it, not as a tourism brochure would show it. If you are used to waiting quietly for the right moment, you will recognise that mindset in these presets.
The black-and-white preset works well on scenes with strong contrast: light and shadow on a pavement, a face against a dark background, movement in a busy street. The cinematic colour preset is the most versatile of the three. It holds up in daylight situations, in warm evening light, and on overcast days when other presets feel flat. The pastel variant is quieter. Use it for calm street scenes, soft portraits or situations with diffuse light. Heavy urban scenes call for something else.
Three individual presets are three individual choices. A pack is a system. Because the three variants share the same colour philosophy, you can move between black and white, colour and pastel without your series falling apart. That makes The Observer usable as a visual thread through an entire photo series, a portfolio or a publication. The coherence is already built in.
Import the presets through Lightroom Classic or the mobile Lightroom app. Apply a preset, check the exposure and adjust the exposure slider where needed. The presets are calibrated to an average street photograph, but every image is different. Start with whichever preset sits closest to your feeling for that particular photo, and work from there. That way you stay in control without starting from scratch every time.
What's included in the download?
Presets for Lightroom Classic and Lightroom Desktop. Import via the Presets panel in the Develop module. Works on RAW and JPEG.
Capture One styles. Import via the Styles panel. Compatible with Capture One Pro and Capture One Express for Sony, Fujifilm and Nikon.
3D LUT for use in DaVinci Resolve, Adobe Premiere Pro, Final Cut Pro and other video software. Also works in Photoshop via Camera Raw or as a Color Lookup adjustment layer.
Installation instructions for Lightroom, Capture One and video software. Step by step.
Installation
Lightroom Classic (.xmp)
Open Lightroom Classic and go to the Develop module. In the Presets panel, click the plus icon and choose "Import Presets". Select the .xmp files from the unzipped folder. After import the presets appear in your chosen folder and are immediately available for all photos in your library.
Lightroom (mobile and desktop app)
Open a photo in Lightroom. Tap "Presets" at the bottom, then tap the three-dot menu in the top right. Choose "Import Presets" and select the .xmp files. On mobile, access this via the three dots at the top of the edit screen. Presets sync automatically to all your devices via Adobe Creative Cloud.
Capture One (.costyle)
Open Capture One and go to the Styles panel in the Color tool. Click the arrow menu next to "Styles" and choose "Import Styles". Select the .costyle files. The styles are then immediately available in the Styles panel and can be applied to any selected photo or multiple photos at once.
DaVinci Resolve / Premiere Pro (.cube)
Copy the .cube files to a fixed folder on your drive. In DaVinci Resolve add a Color LUT node and import the .cube file by right-clicking the node. In Premiere Pro use the "Lumetri Color" effect and under "Creative" choose the "Look" option to load the .cube file. The LUT also works in Final Cut Pro via an FCPX Plugin or in Photoshop as an adjustment layer.