10 presets
Ten extreme looks, each built around the colour and mood of a well-known film. From wasp yellow to terminal green, from a faded summer to near monochrome with a single red. For those who dare to push colour instead of playing it safe.

Cinemascope
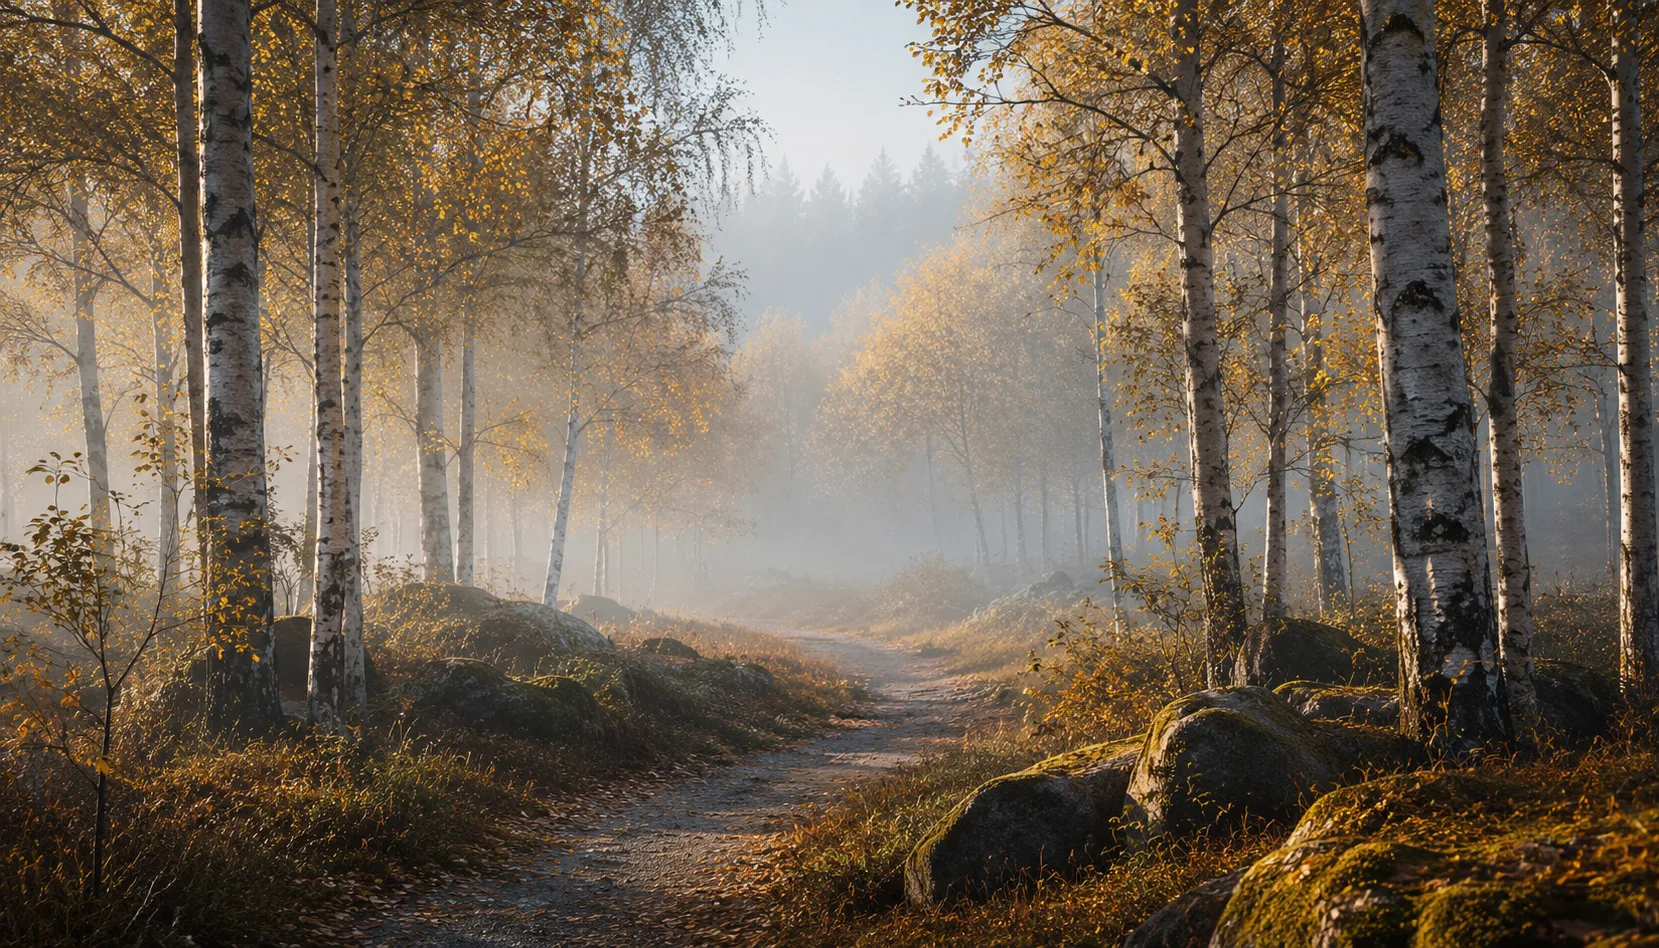
All looks on one photo
The same photo, every preset. Switch the test image to see how the looks hold up.


About Cinemascope
Cinemascope is not a pack for photographers who want to give their images a subtle nudge. The ten presets here are built around the colour and mood of well-known films, each with its own logic. Wasp yellow that pulls you toward a Tarantino scene. A green that belongs to the cold corridors of The Matrix. A faded, overexposed summer hovering somewhere between Moonrise Kingdom and pure nostalgia. And a look that is almost monochrome but lets a single colour remain, and says everything with that choice. The thread connecting all ten is not a technical setting but a decision: colour as narrative, not as decoration.
This pack is made for photographers who already know what they want to say but are looking for a stronger way to say it. That might be street photographers who want to turn an ordinary corner into something cinematic. Or portrait photographers who want to underline a character rather than smooth it out. You do not need to be a film scholar to understand these presets, but you do need to be willing to let colour lead rather than correct it.
The presets work well on scenes with strong light, hard shadows or prominent colour blocks. Think urban environments, late afternoon, artificial light, portrait on location. But even in flat light the more extreme looks can add something, precisely because they introduce a tension that was not there before. Subjects that fit: people on the street, solitary figures in a space, scenes with clear depth or a recognisable colour accent in the frame.
What makes the ten presets together more than ten separate files is consistency in approach. Each look is built with the same attention to contrast, tonal distribution and colour relationships. That makes it easy to move from one to another without constant correction. Within a series or a project you can vary without losing the visual thread. They are designed to work as a collection, even if you only use three of them.
In practice you place a preset on your image, assess the result and adjust exposure or white balance where needed. Cinemascope presets are built as a starting point, not a finishing line. One thing that works well: export a few variations side by side and see which one carries the most tension. Use the HSL sliders to push a colour further or pull it back slightly. Save your adjustments as a variant of the preset so that look is ready to use the next time you need it.
What's included in the download?
Presets for Lightroom Classic and Lightroom Desktop. Import via the Presets panel in the Develop module. Works on RAW and JPEG.
Capture One styles. Import via the Styles panel. Compatible with Capture One Pro and Capture One Express for Sony, Fujifilm and Nikon.
3D LUT for use in DaVinci Resolve, Adobe Premiere Pro, Final Cut Pro and other video software. Also works in Photoshop via Camera Raw or as a Color Lookup adjustment layer.
Installation instructions for Lightroom, Capture One and video software. Step by step.
Installation
Lightroom Classic (.xmp)
Open Lightroom Classic and go to the Develop module. In the Presets panel, click the plus icon and choose "Import Presets". Select the .xmp files from the unzipped folder. After import the presets appear in your chosen folder and are immediately available for all photos in your library.
Lightroom (mobile and desktop app)
Open a photo in Lightroom. Tap "Presets" at the bottom, then tap the three-dot menu in the top right. Choose "Import Presets" and select the .xmp files. On mobile, access this via the three dots at the top of the edit screen. Presets sync automatically to all your devices via Adobe Creative Cloud.
Capture One (.costyle)
Open Capture One and go to the Styles panel in the Color tool. Click the arrow menu next to "Styles" and choose "Import Styles". Select the .costyle files. The styles are then immediately available in the Styles panel and can be applied to any selected photo or multiple photos at once.
DaVinci Resolve / Premiere Pro (.cube)
Copy the .cube files to a fixed folder on your drive. In DaVinci Resolve add a Color LUT node and import the .cube file by right-clicking the node. In Premiere Pro use the "Lumetri Color" effect and under "Creative" choose the "Look" option to load the .cube file. The LUT also works in Final Cut Pro via an FCPX Plugin or in Photoshop as an adjustment layer.