10 presets
Ten classic film stocks as Lightroom presets. From Kodachrome warm saturation to Tri-X coarse grain. Each with the character of the original.

Film Stocks
All looks on one photo
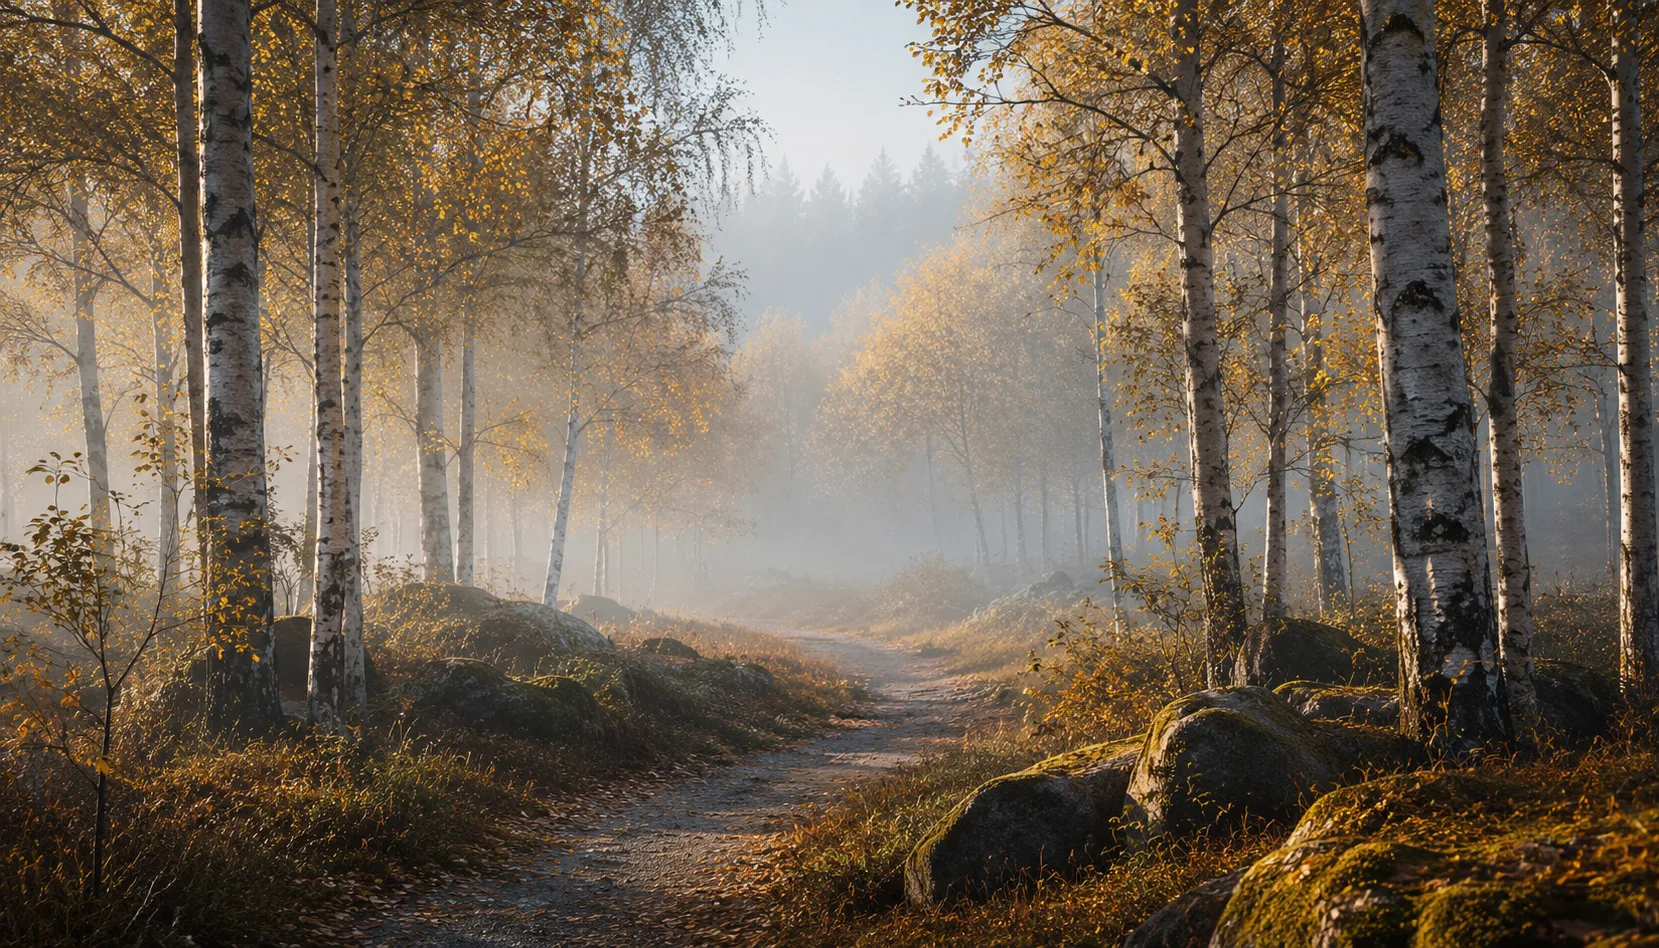
The same photo, every preset. Switch the test image to see how the looks hold up.


About Film Stocks
What connects these presets is not a single filter but a single feeling. Film Stocks is built around the color science of classic Hollywood cinematography: deep shadows with a trace of warmth, midtones that lean toward amber and gold, and highlights that never blow out too hard. The result is a coherent visual language you recognize immediately. Not because it looks processed, but because it feels right.
This pack was made for photographers who work with people and places. Portrait photographers who want their images to feel timeless. Street photographers who want to translate the raw energy of a city into something almost cinematic. But also wedding photographers, travel photographers, and anyone drawn to the aesthetic of films like Chinatown, Badlands, or The Godfather. If you have ever taken a photo and thought it could have been a film still, this pack was made for you.
The presets work best in warm or soft light. Think golden hour on a city street, diffused daylight through a window, or artificial light in a bar or café. Skin tones respond beautifully to the warmth baked into the midtones. Stone, asphalt, and worn facades gain a texture that feels almost physical. Scenes with strong contrast, backlight, or deep shadows also suit this style well. The presets are less suited to cool, neutral environments like modern office spaces or flat overcast skies, unless you are deliberately looking for that tension.
Individual presets are tools. A collection is a system. Film Stocks contains presets that each have their own character, but together form one palette. You can move between an airy, faded look and a darker, more saturated variant without your gallery losing coherence. That makes it easier to stay consistent across an entire shoot or portfolio, without everything looking identical.
Apply the preset and see what happens. Most images need little correction after that. Sometimes you will want to nudge the exposure by half a stop, or adjust the white balance if your camera was set to something unusual. The presets are optimized for RAW files, but they also hold up well on JPEG. Use Lightroom's sync or copy function to apply the same preset to multiple frames from the same lighting condition in one step. That keeps your editing fast and leaves you room for the small adjustments that actually matter.
What's included in the download?
Presets for Lightroom Classic and Lightroom Desktop. Import via the Presets panel in the Develop module. Works on RAW and JPEG.
Capture One styles. Import via the Styles panel. Compatible with Capture One Pro and Capture One Express for Sony, Fujifilm and Nikon.
3D LUT for use in DaVinci Resolve, Adobe Premiere Pro, Final Cut Pro and other video software. Also works in Photoshop via Camera Raw or as a Color Lookup adjustment layer.
Installation instructions for Lightroom, Capture One and video software. Step by step.
Installation
Lightroom Classic (.xmp)
Open Lightroom Classic and go to the Develop module. In the Presets panel, click the plus icon and choose "Import Presets". Select the .xmp files from the unzipped folder. After import the presets appear in your chosen folder and are immediately available for all photos in your library.
Lightroom (mobile and desktop app)
Open a photo in Lightroom. Tap "Presets" at the bottom, then tap the three-dot menu in the top right. Choose "Import Presets" and select the .xmp files. On mobile, access this via the three dots at the top of the edit screen. Presets sync automatically to all your devices via Adobe Creative Cloud.
Capture One (.costyle)
Open Capture One and go to the Styles panel in the Color tool. Click the arrow menu next to "Styles" and choose "Import Styles". Select the .costyle files. The styles are then immediately available in the Styles panel and can be applied to any selected photo or multiple photos at once.
DaVinci Resolve / Premiere Pro (.cube)
Copy the .cube files to a fixed folder on your drive. In DaVinci Resolve add a Color LUT node and import the .cube file by right-clicking the node. In Premiere Pro use the "Lumetri Color" effect and under "Creative" choose the "Look" option to load the .cube file. The LUT also works in Final Cut Pro via an FCPX Plugin or in Photoshop as an adjustment layer.