
12 presets
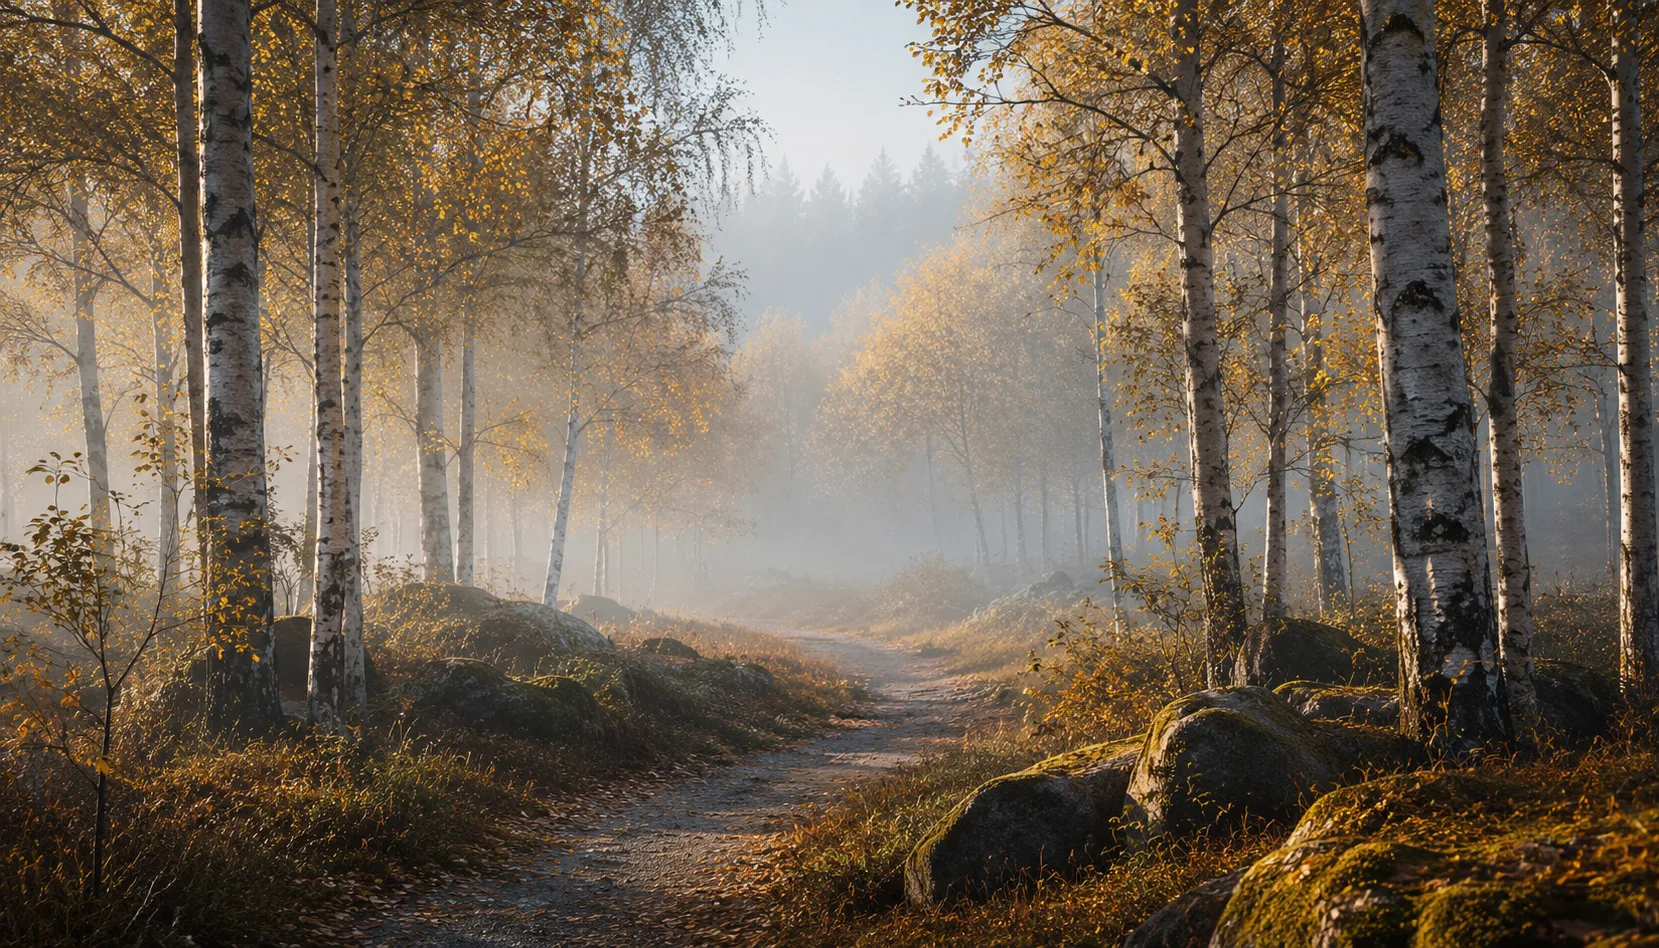
The four seasons captured in Scandinavian colour palettes. From cool winter whites to warm autumn oranges, this pack suits every season in the far north.
Nordic Seasons


About Nordic Seasons
Nordic Seasons is built around a single visual language: the quiet, restrained colour of Scandinavia. Not the saturated hues that catch attention on social media, but the subtle transitions you notice on a November afternoon in Norway or a summer morning in Sweden. Each preset shares an underlying colour structure that connects cool shadow blues with muted midtones and soft highlights. That means photos from different seasons still feel like one coherent series when placed side by side.
This pack is made for photographers who work outdoors, whether in Scandinavia itself or anywhere else where nature and natural light are central. Landscape photographers who rise early for golden hour, travel photographers who want to hold onto the feeling of a place, portrait photographers who shoot their subjects in open, uncontrolled environments. You do not need a specific camera body. The presets work well on RAW files from most modern mirrorless cameras and DSLRs.
The four seasonal variants follow the colour logic of the north. The winter preset pulls whites toward cool blue and keeps shadows graphic and clean. The spring variant adds just a trace of yellow-green to the midtones without crossing into artificial territory. Summer works with warmer but still restrained highlights, suited to the long Scandinavian evenings where light lingers low. Autumn brings orange and ochre tones forward, the colours you recognise in birch leaves and heather. Each preset performs best on scenes with natural light, open sky and a little room in the exposure.
Individual presets are useful, but a collection gives you more. Because all four variants share the same colour structure in the shadows and highlights, you can mix images from different seasons without losing visual coherence. That makes Nordic Seasons well suited for photo books, portfolio pages or any project where time plays a role. The presets are also easy to adapt between each other. Small adjustments in the HSL panel or tone curve are enough to move from one seasonal mood to another.
In practice, the workflow is straightforward. Load your RAW file, apply the preset and check the initial result. Then look at the exposure, because Scandinavian light is often flat or overcast and sometimes needs half a stop of adjustment upward. Use the HSL sliders to correct a single colour if needed, for instance to cool down a sky that reads too yellow. Save the edit as a sync starting point for the rest of your series. That keeps your set consistent without making every frame look identical.
What's included in the download?
Presets for Lightroom Classic and Lightroom Desktop. Import via the Presets panel in the Develop module. Works on RAW and JPEG.
Capture One styles. Import via the Styles panel. Compatible with Capture One Pro and Capture One Express for Sony, Fujifilm and Nikon.
3D LUT for use in DaVinci Resolve, Adobe Premiere Pro, Final Cut Pro and other video software. Also works in Photoshop via Camera Raw or as a Color Lookup adjustment layer.
Installation instructions for Lightroom, Capture One and video software. Step by step.
Installation
Lightroom Classic (.xmp)
Open Lightroom Classic and go to the Develop module. In the Presets panel, click the plus icon and choose "Import Presets". Select the .xmp files from the unzipped folder. After import the presets appear in your chosen folder and are immediately available for all photos in your library.
Lightroom (mobile and desktop app)
Open a photo in Lightroom. Tap "Presets" at the bottom, then tap the three-dot menu in the top right. Choose "Import Presets" and select the .xmp files. On mobile, access this via the three dots at the top of the edit screen. Presets sync automatically to all your devices via Adobe Creative Cloud.
Capture One (.costyle)
Open Capture One and go to the Styles panel in the Color tool. Click the arrow menu next to "Styles" and choose "Import Styles". Select the .costyle files. The styles are then immediately available in the Styles panel and can be applied to any selected photo or multiple photos at once.
DaVinci Resolve / Premiere Pro (.cube)
Copy the .cube files to a fixed folder on your drive. In DaVinci Resolve add a Color LUT node and import the .cube file by right-clicking the node. In Premiere Pro use the "Lumetri Color" effect and under "Creative" choose the "Look" option to load the .cube file. The LUT also works in Final Cut Pro via an FCPX Plugin or in Photoshop as an adjustment layer.


