9 presets
Nine spooky moods for around Halloween. From warm pumpkin glow to a cold, misty marsh night, from a classic teal/orange horror grade to a true black and white film look. Low-key, with true blacks and a grainy, filmic edge.
Halloween
All looks on one photo
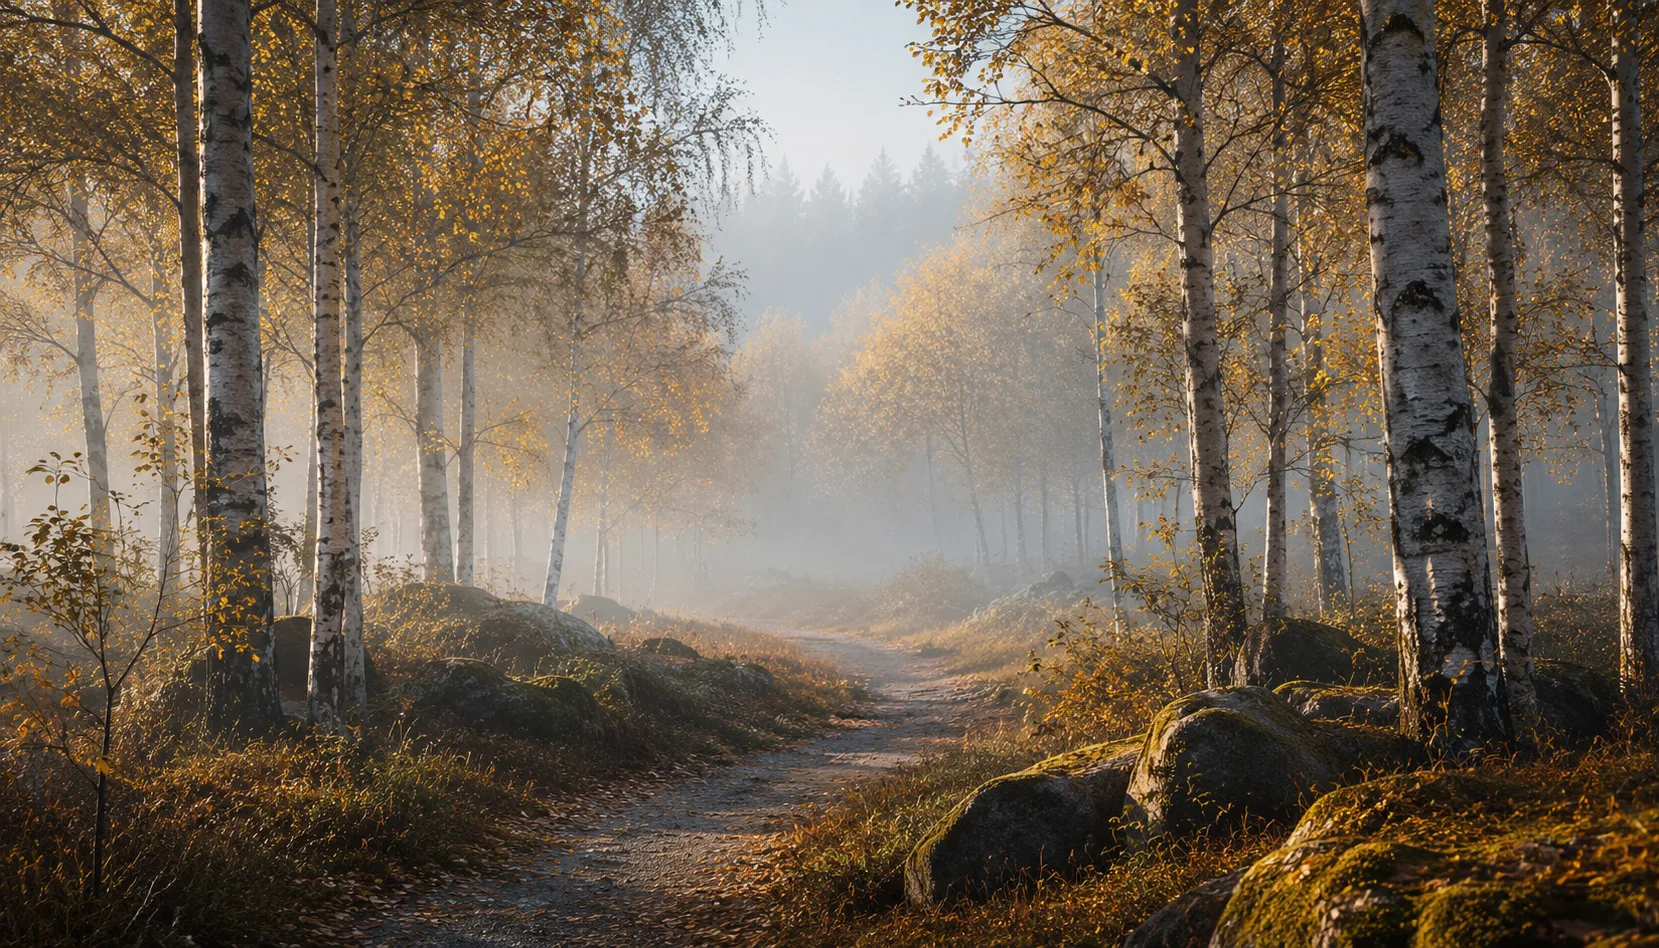
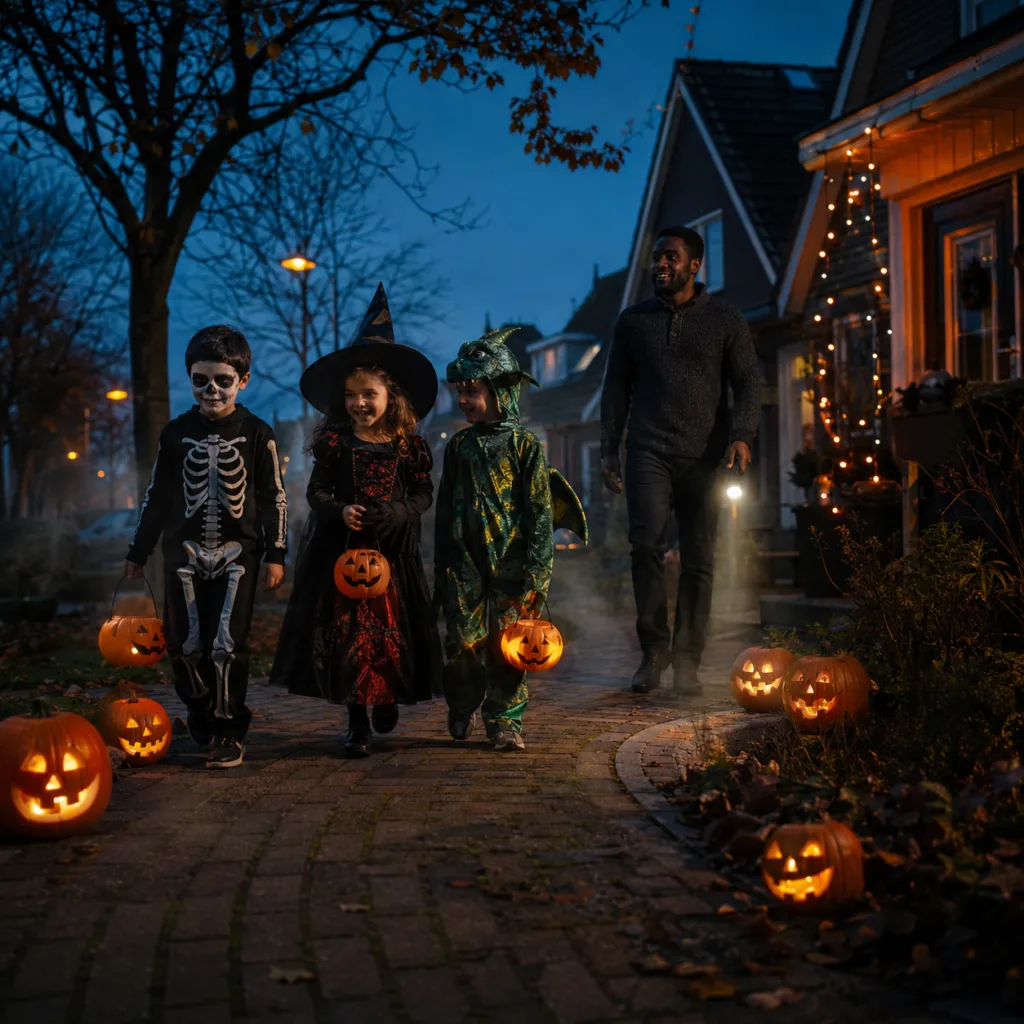
The same photo, every preset. Switch the test image to see how the looks hold up.


About Halloween
Halloween is deliberately not a broad pack, but nine sharply defined moods around one theme. From warm pumpkin glow to a cold, misty marsh night, from a classic teal-orange horror grade to a true black and white film look.
This pack is made for the weeks around Halloween: portraits in artificial light, autumn scenes allowed to feel a touch spookier, or simply mood imagery for the season. Each preset picks its own degree of spooky, from cosy to genuinely sinister.
The presets work best on images that already lean that way. Night Shade and Blood Moon want artificial or coloured light, Misty Marsh wants natural, damp daylight instead. Pumpkin Glow and Abandoned Attic lean into warmth, Cobweb and Witching Hour lean into a cold, bleached tone. Wicked Shadow is the darkest of all, Silver Screen lets go of colour entirely.
Nine separate presets are nine starting points, but together they cover the full range of Halloween: from homely and cosy to genuinely unsettling. You choose not by colour alone, but by how far you want to take that mood.
You install the pack in Lightroom Classic or Lightroom through the usual preset import step. After that they sit ready in your preset panel. Open a photo, click a preset, and adjust light or exposure where needed. Working through a series? Sync the chosen preset across the whole selection.
What's included in the download?
Presets for Lightroom Classic and Lightroom Desktop. Import via the Presets panel in the Develop module. Works on RAW and JPEG.
Capture One styles. Import via the Styles panel. Compatible with Capture One Pro and Capture One Express for Sony, Fujifilm and Nikon.
3D LUT for use in DaVinci Resolve, Adobe Premiere Pro, Final Cut Pro and other video software. Also works in Photoshop via Camera Raw or as a Color Lookup adjustment layer.
Installation instructions for Lightroom, Capture One and video software. Step by step.
Installation
Lightroom Classic (.xmp)
Open Lightroom Classic and go to the Develop module. In the Presets panel, click the plus icon and choose "Import Presets". Select the .xmp files from the unzipped folder. After import the presets appear in your chosen folder and are immediately available for all photos in your library.
Lightroom (mobile and desktop app)
Open a photo in Lightroom. Tap "Presets" at the bottom, then tap the three-dot menu in the top right. Choose "Import Presets" and select the .xmp files. On mobile, access this via the three dots at the top of the edit screen. Presets sync automatically to all your devices via Adobe Creative Cloud.
Capture One (.costyle)
Open Capture One and go to the Styles panel in the Color tool. Click the arrow menu next to "Styles" and choose "Import Styles". Select the .costyle files. The styles are then immediately available in the Styles panel and can be applied to any selected photo or multiple photos at once.
DaVinci Resolve / Premiere Pro (.cube)
Copy the .cube files to a fixed folder on your drive. In DaVinci Resolve add a Color LUT node and import the .cube file by right-clicking the node. In Premiere Pro use the "Lumetri Color" effect and under "Creative" choose the "Look" option to load the .cube file. The LUT also works in Final Cut Pro via an FCPX Plugin or in Photoshop as an adjustment layer.