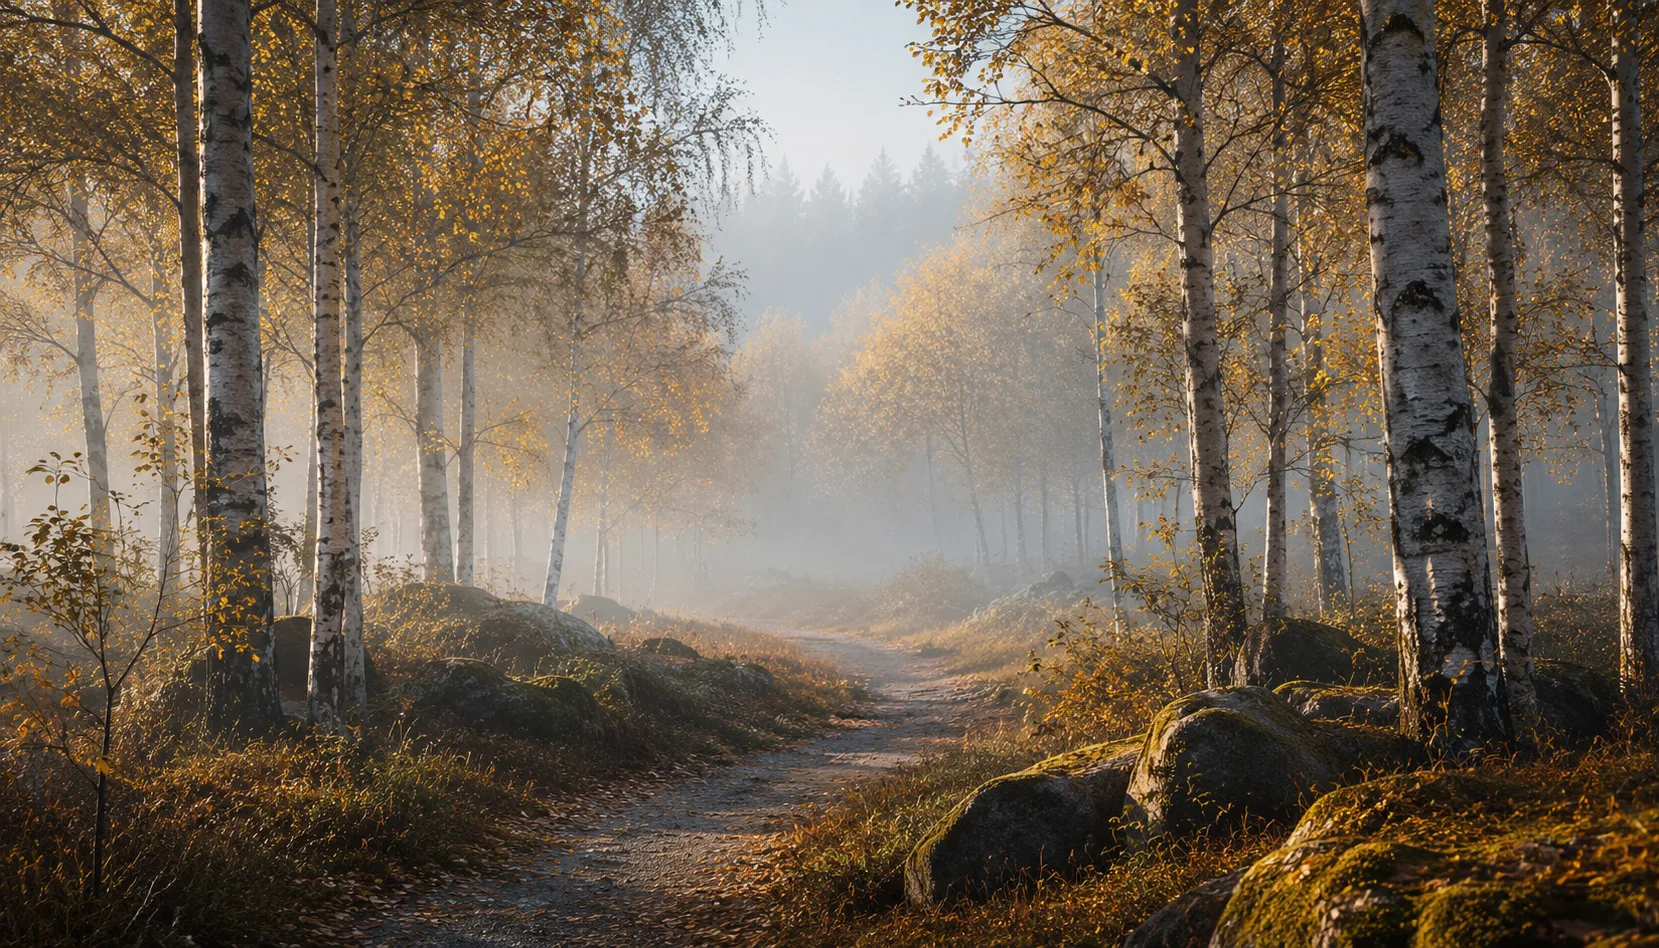
8 presets
Eight presets specifically tuned for deep skin tones with orange and reddish-brown undertones. Rich, warm colour with preserved shadow detail.
Premium pack
Available with an active subscription.
View subscriptions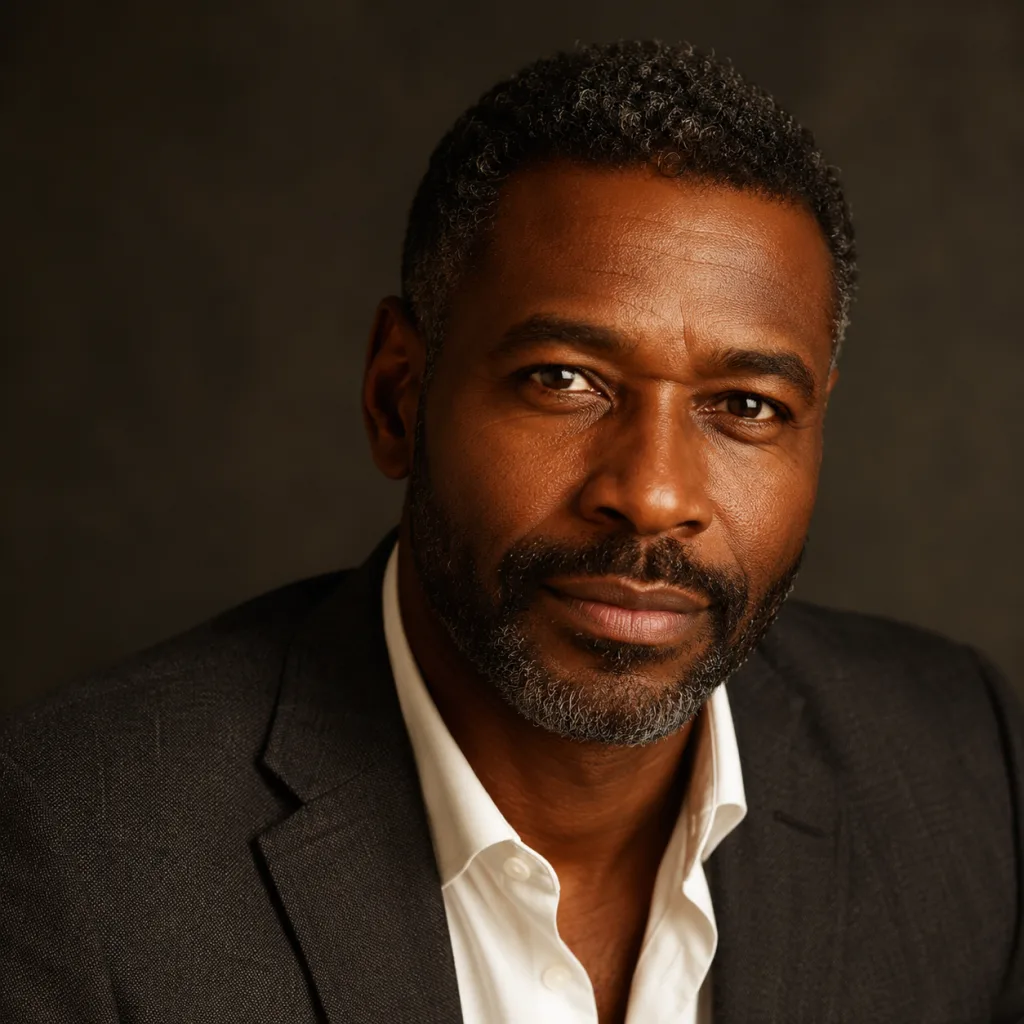
Portrait Africa
All looks on one photo
The same photo, every preset. Switch the test image to see how the looks hold up.


About Portrait Africa
The eight presets in Portrait Africa share one visual logic: warm orange and reddish-brown tones that don't correct deep skin tones but enhance them. Where generic portrait presets often push skin colour too far toward yellow or pink, this collection keeps the original richness intact. Shadows hold detail. Highlights don't blow out. What you get is a colour profile that feels like a deliberate photographic choice, not a filter laid over everything.
This pack was made for photographers who work with people. Street photographers shooting in West Africa, East Africa or urban environments with an African diaspora. Portrait photographers working on location with hard or mixed light. Documentary photographers who want colour that is honest without being clinical. You don't need to be an expert in colour grading. You do need an eye for what makes or breaks a portrait, and that is exactly what these presets are designed for.
The presets work best on portraits with direct light, golden hour sessions, shaded street scenes and interior shoots where warm artificial light dominates. They are tuned for RAW files with enough exposure information in the shadows. Shooting at ISO 800 or higher in low light? That works, as long as your exposure isn't too far underexposed. The style fits editorial work, social documentary and commercial portraits that need a warm, human quality.
Eight presets might sound like a small number, but the strength is in the coherence. Every file in this collection is calibrated to the same reference skin tone, the same shadow logic and the same white balance zone. You can switch between presets without your series pulling in different directions. That makes working on a reportage or portrait assignment faster: less time managing different approaches, more focus on what each individual photo actually needs.
In practice: import the pack into Lightroom Classic or Lightroom CC through the preset panel. Load a test image, click through the eight options and start with the preset closest to the mood you're after. Then adjust only exposure and white balance to match the specific conditions of your shoot. The colour grade itself rarely needs touching. Sync the settings across the rest of your selection and your series has consistent colour, from the first frame to the last.
What's included in the download?
Presets for Lightroom Classic and Lightroom Desktop. Import via the Presets panel in the Develop module. Works on RAW and JPEG.
Capture One styles. Import via the Styles panel. Compatible with Capture One Pro and Capture One Express for Sony, Fujifilm and Nikon.
3D LUT for use in DaVinci Resolve, Adobe Premiere Pro, Final Cut Pro and other video software. Also works in Photoshop via Camera Raw or as a Color Lookup adjustment layer.
Installation instructions for Lightroom, Capture One and video software. Step by step.
Installation
Lightroom Classic (.xmp)
Open Lightroom Classic and go to the Develop module. In the Presets panel, click the plus icon and choose "Import Presets". Select the .xmp files from the unzipped folder. After import the presets appear in your chosen folder and are immediately available for all photos in your library.
Lightroom (mobile and desktop app)
Open a photo in Lightroom. Tap "Presets" at the bottom, then tap the three-dot menu in the top right. Choose "Import Presets" and select the .xmp files. On mobile, access this via the three dots at the top of the edit screen. Presets sync automatically to all your devices via Adobe Creative Cloud.
Capture One (.costyle)
Open Capture One and go to the Styles panel in the Color tool. Click the arrow menu next to "Styles" and choose "Import Styles". Select the .costyle files. The styles are then immediately available in the Styles panel and can be applied to any selected photo or multiple photos at once.
DaVinci Resolve / Premiere Pro (.cube)
Copy the .cube files to a fixed folder on your drive. In DaVinci Resolve add a Color LUT node and import the .cube file by right-clicking the node. In Premiere Pro use the "Lumetri Color" effect and under "Creative" choose the "Look" option to load the .cube file. The LUT also works in Final Cut Pro via an FCPX Plugin or in Photoshop as an adjustment layer.