8 presets
Eight presets tuned for skin tones with yellow and golden-orange undertones. Cool shadows as counterbalance, from minimalist high-key to warm evening look.
Premium pack
Available with an active subscription.
View subscriptions
Portrait Asia
All looks on one photo
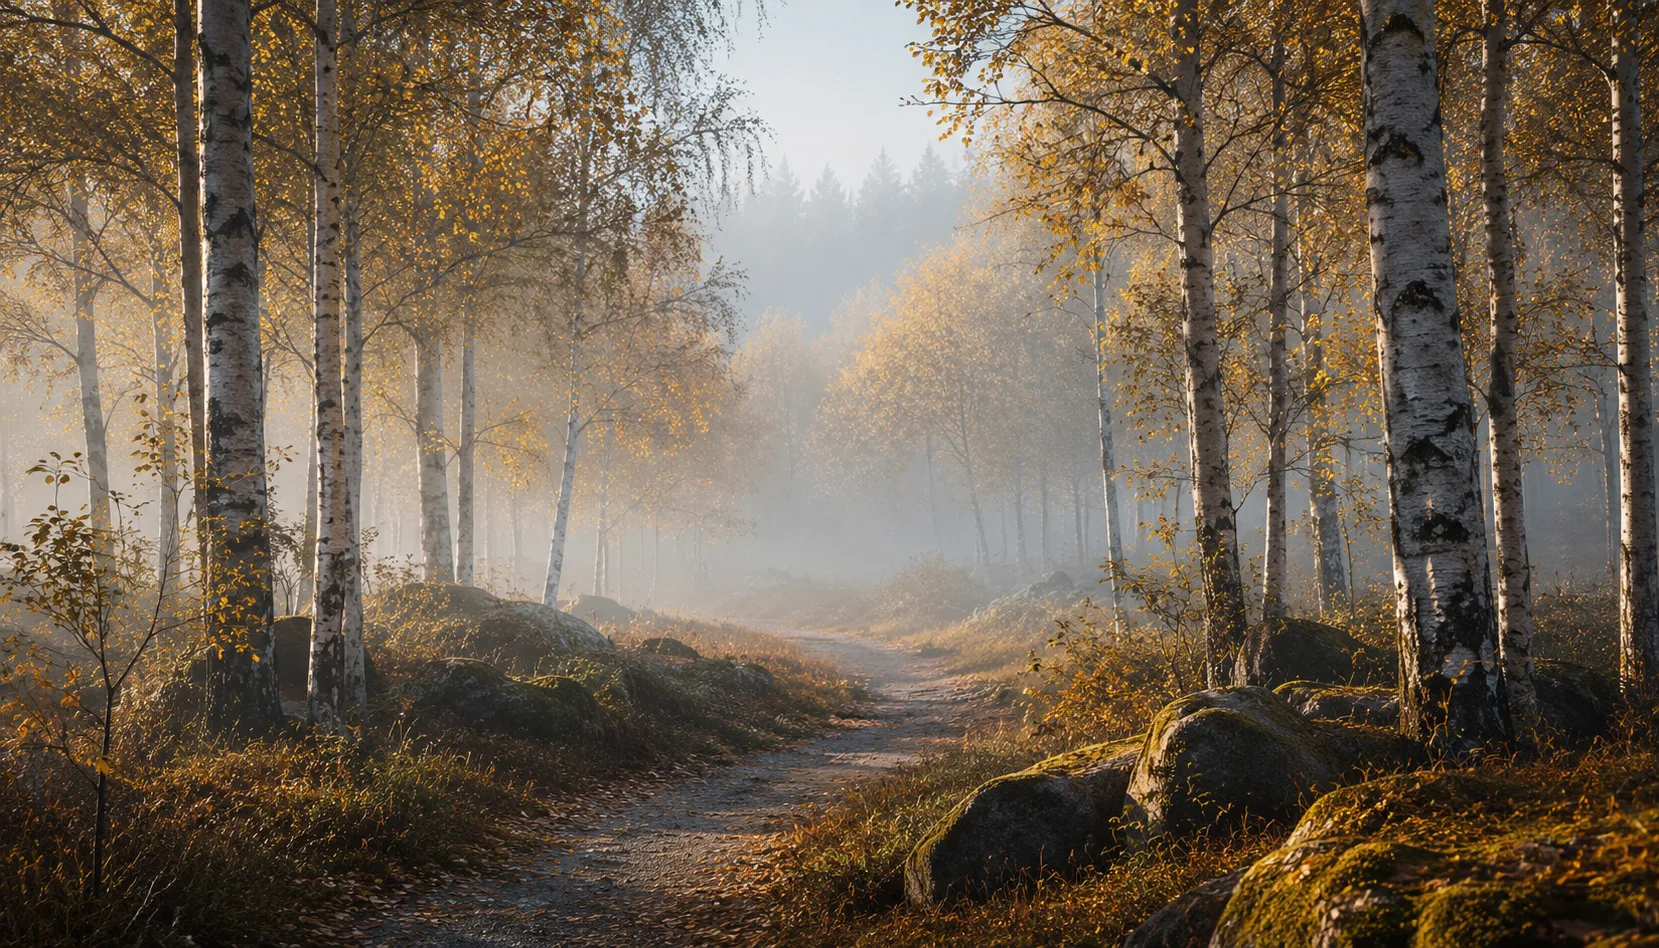
The same photo, every preset. Switch the test image to see how the looks hold up.


About Portrait Asia
Portrait Asia is built around one idea: skin tones with yellow or golden-orange undertones deserve their own color treatment. Most presets try to work around that with neutral tones or cool grading. This pack does the opposite. The warm undertone in the skin is enhanced, not corrected. Cool shadows create contrast without breaking the warmth. That interplay is the common thread connecting all eight presets, from the lightest high-key option to the deepest evening look.
The pack is made for photographers working with Asian, Middle Eastern, or Latin American subjects, or with anyone who shares a similar skin undertone. That includes studio portrait sessions, but also street reportage, wedding photography in warm daylight, and travel portraits during golden hour. The presets are calibrated for situations where skin is the dominant element in the frame. Not as decoration, but as the subject itself.
They work best in images shot in warm or neutral light. Sunrise, sunset, overcast daylight, soft artificial light. With hard blue strobe or cool fluorescent light, you may need to adjust the base settings before applying the preset. In portrait photography the strongest results come from close-ups and half-body frames, but the presets hold up in environmental portraits where clothing, architecture, or nature play a role as well. The high-key variants suit commercial work or minimalist editorials. The warmer looks fit more narrative, documentary, or personal photography.
Eight individual presets are eight options. As a collection, they are more than that. They are calibrated against each other in color temperature, shadow definition, and skin rendering. You can switch between presets without losing the feeling that you are working within the same series. That makes it easier to maintain visual consistency across a full shoot or portfolio, without every image looking identical.
In practice, you bring the pack into your workflow like this: import your RAW files, apply one preset to a representative image from your session, then adjust only exposure and white balance if needed. The color treatment rarely needs touching. To make a full selection consistent, use Lightroom's sync function or copy the settings across the rest of your sequence. The presets are tested in Lightroom Classic and Lightroom CC, and work in Adobe Camera Raw as well.
What's included in the download?
Presets for Lightroom Classic and Lightroom Desktop. Import via the Presets panel in the Develop module. Works on RAW and JPEG.
Capture One styles. Import via the Styles panel. Compatible with Capture One Pro and Capture One Express for Sony, Fujifilm and Nikon.
3D LUT for use in DaVinci Resolve, Adobe Premiere Pro, Final Cut Pro and other video software. Also works in Photoshop via Camera Raw or as a Color Lookup adjustment layer.
Installation instructions for Lightroom, Capture One and video software. Step by step.
Installation
Lightroom Classic (.xmp)
Open Lightroom Classic and go to the Develop module. In the Presets panel, click the plus icon and choose "Import Presets". Select the .xmp files from the unzipped folder. After import the presets appear in your chosen folder and are immediately available for all photos in your library.
Lightroom (mobile and desktop app)
Open a photo in Lightroom. Tap "Presets" at the bottom, then tap the three-dot menu in the top right. Choose "Import Presets" and select the .xmp files. On mobile, access this via the three dots at the top of the edit screen. Presets sync automatically to all your devices via Adobe Creative Cloud.
Capture One (.costyle)
Open Capture One and go to the Styles panel in the Color tool. Click the arrow menu next to "Styles" and choose "Import Styles". Select the .costyle files. The styles are then immediately available in the Styles panel and can be applied to any selected photo or multiple photos at once.
DaVinci Resolve / Premiere Pro (.cube)
Copy the .cube files to a fixed folder on your drive. In DaVinci Resolve add a Color LUT node and import the .cube file by right-clicking the node. In Premiere Pro use the "Lumetri Color" effect and under "Creative" choose the "Look" option to load the .cube file. The LUT also works in Final Cut Pro via an FCPX Plugin or in Photoshop as an adjustment layer.