8 presets
Eight presets tuned for light to medium skin tones with pink undertones. Works best in diffuse daylight and studio softbox.
Premium pack
Available with an active subscription.
View subscriptions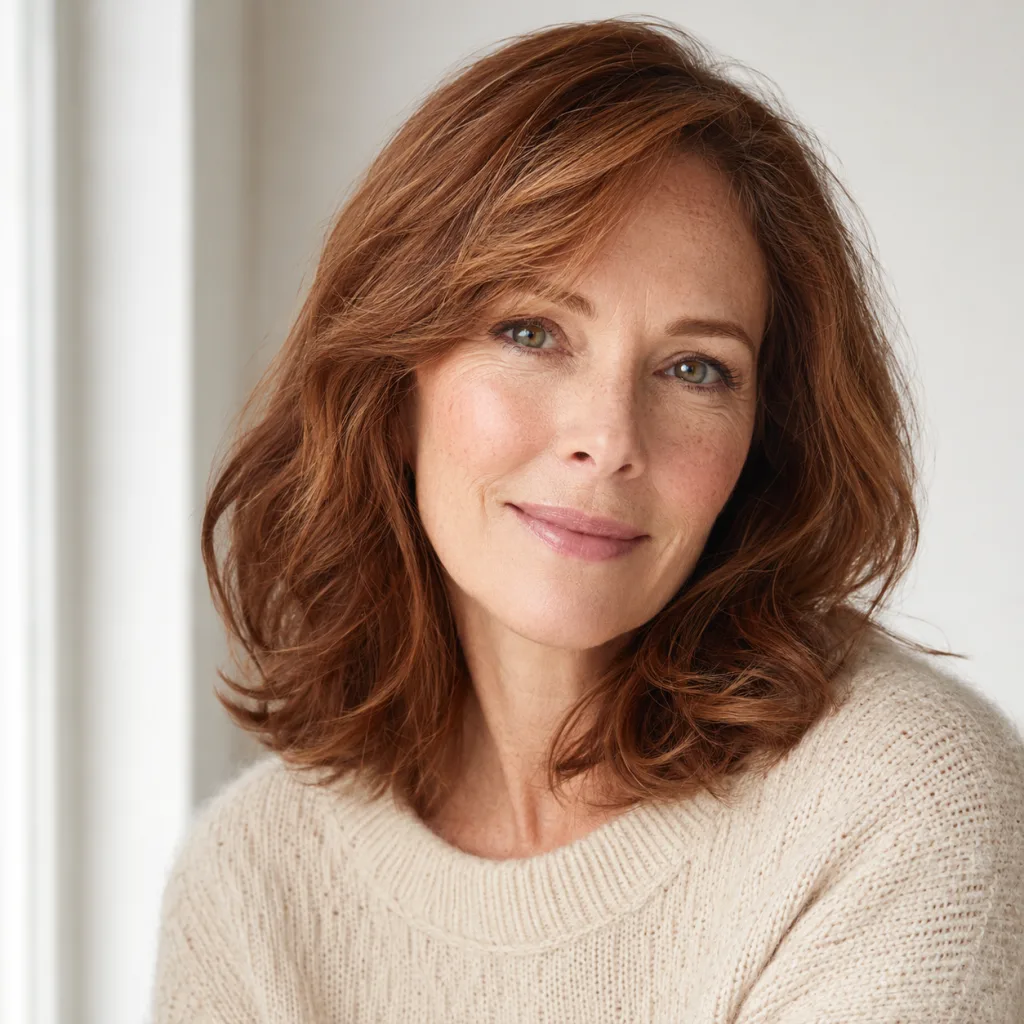
Portrait Europe
All looks on one photo
The same photo, every preset. Switch the test image to see how the looks hold up.


About Portrait Europe
Portrait Europe is built around one idea: skin that looks like skin. Not polished, not plastic, but warm and real. The eight presets share a soft base tone with a light pink undertone, slightly pulled-back highlights and shadows that stay open. That gives your portraits a consistent look, whether you are shooting outside in overcast daylight or inside with a softbox two metres away.
This pack was made for photographers who regularly photograph people with light to medium skin tones, people with a pink or cool undertone in their complexion. Portrait studios, wedding photographers working indoors, photographers doing lifestyle sessions in soft window light. If you shoot a lot in direct sunlight or with flash at full power, the presets work as a starting point, but you will need to adjust more often.
Portrait Europe performs best with diffuse light sources. An overcast sky, a large window, an octabox or stripbox in the studio. In those conditions the pink undertone in the skin does exactly what it should: it connects the colour tone of the preset with the colour tone of the person in front of your lens. Close-up portraits, clean headshots, intimate half-body shots, sessions with children or couples, the presets hold it all together without making you re-calibrate every single image.
What a single preset cannot do, a pack can: consistency across a complete series. The eight files in Portrait Europe are not eight separate choices. They are tuned to each other. You can move from one preset to another within a session and the photos will still work together. That is useful when you want to deliver a set with some variation in mood, but without the images looking like they came from different photographers.
In Lightroom, import the presets through the panel menu in Develop. In Capture One, use the Style import option. Keep Portrait Europe in a dedicated folder so you can find them quickly. Start with the preset closest to your exposure, then adjust whites and exposure if needed, and leave the colour tone alone. That way you work fast and keep the character of the preset intact.
What's included in the download?
Presets for Lightroom Classic and Lightroom Desktop. Import via the Presets panel in the Develop module. Works on RAW and JPEG.
Capture One styles. Import via the Styles panel. Compatible with Capture One Pro and Capture One Express for Sony, Fujifilm and Nikon.
3D LUT for use in DaVinci Resolve, Adobe Premiere Pro, Final Cut Pro and other video software. Also works in Photoshop via Camera Raw or as a Color Lookup adjustment layer.
Installation instructions for Lightroom, Capture One and video software. Step by step.
Installation
Lightroom Classic (.xmp)
Open Lightroom Classic and go to the Develop module. In the Presets panel, click the plus icon and choose "Import Presets". Select the .xmp files from the unzipped folder. After import the presets appear in your chosen folder and are immediately available for all photos in your library.
Lightroom (mobile and desktop app)
Open a photo in Lightroom. Tap "Presets" at the bottom, then tap the three-dot menu in the top right. Choose "Import Presets" and select the .xmp files. On mobile, access this via the three dots at the top of the edit screen. Presets sync automatically to all your devices via Adobe Creative Cloud.
Capture One (.costyle)
Open Capture One and go to the Styles panel in the Color tool. Click the arrow menu next to "Styles" and choose "Import Styles". Select the .costyle files. The styles are then immediately available in the Styles panel and can be applied to any selected photo or multiple photos at once.
DaVinci Resolve / Premiere Pro (.cube)
Copy the .cube files to a fixed folder on your drive. In DaVinci Resolve add a Color LUT node and import the .cube file by right-clicking the node. In Premiere Pro use the "Lumetri Color" effect and under "Creative" choose the "Look" option to load the .cube file. The LUT also works in Final Cut Pro via an FCPX Plugin or in Photoshop as an adjustment layer.