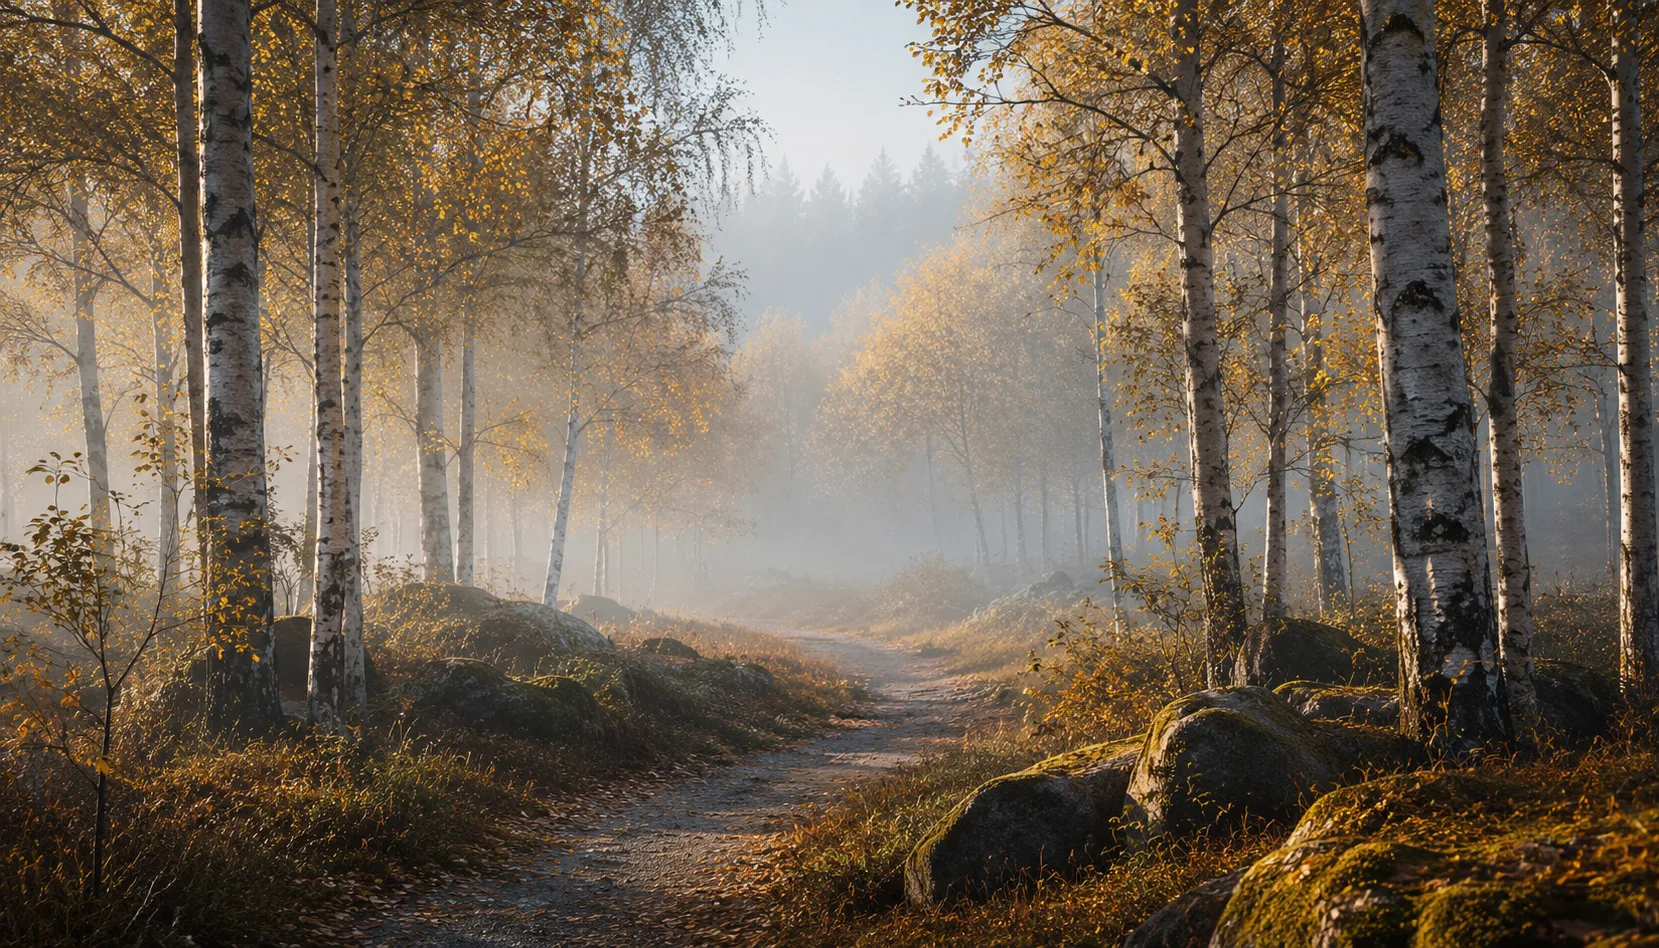
8 presets
Wes Anderson-style colourful presets. Pastels, symmetry, stylised colour blocks.

Pastel film
All looks on one photo
The same photo, every preset. Switch the test image to see how the looks hold up.


About Pastel film
Pastel Film is built around colour as a compositional tool. Not as a filter you layer on top, but as a visual language that shapes how a photograph reads from the start. The presets draw from the palette of Wes Anderson's films: muted pinks, soft blues, greyed yellows and greens that feel just a little too composed to be accidental. Each preset has its own distinct colour block, but they all share the same quiet, cinematic quality that makes them feel related.
This pack is for photographers who make deliberate choices about style. Portrait photographers working in urban settings, editorial shooters for lifestyle brands, street photographers drawn to architecture and flat colour. If your images tend to feel too neutral after editing, or if most presets push your work in a direction that's too dark or too punchy, Pastel Film offers a different way in.
A flat façade? Works well. A portrait against a painted wall? Even better. The presets are at their strongest when there's geometry in the frame, repeating shapes, or strong colour blocks in the background. Soft overcast light, golden hour and interior daylight all sit naturally within this palette. Hard shadows and heavy contrast can work against the pastel quality, but even then, the colour logic gives your image a direction that individual edits usually don't.
What separates a collection from a set of standalone presets is internal consistency. The presets in Pastel Film are designed to coexist. You can apply one preset to the first photograph in a series and a different preset to the last, and the images will still hold together. That matters when you're delivering work for a magazine, a client portfolio or a curated feed. It also saves time, because you're not rebuilding a colour language from scratch every time.
In practice: open your file in Lightroom, apply a preset and see how it responds to your specific exposure. Most photographs only need a small exposure or white balance adjustment after that. Some images suit a lighter preset, others work better with more colour weight. Before you start fine-tuning, run through the full set. You'll quickly build a sense of which preset belongs to which situation, and the whole process gets faster from there.
What's included in the download?
Presets for Lightroom Classic and Lightroom Desktop. Import via the Presets panel in the Develop module. Works on RAW and JPEG.
Capture One styles. Import via the Styles panel. Compatible with Capture One Pro and Capture One Express for Sony, Fujifilm and Nikon.
3D LUT for use in DaVinci Resolve, Adobe Premiere Pro, Final Cut Pro and other video software. Also works in Photoshop via Camera Raw or as a Color Lookup adjustment layer.
Installation instructions for Lightroom, Capture One and video software. Step by step.
Installation
Lightroom Classic (.xmp)
Open Lightroom Classic and go to the Develop module. In the Presets panel, click the plus icon and choose "Import Presets". Select the .xmp files from the unzipped folder. After import the presets appear in your chosen folder and are immediately available for all photos in your library.
Lightroom (mobile and desktop app)
Open a photo in Lightroom. Tap "Presets" at the bottom, then tap the three-dot menu in the top right. Choose "Import Presets" and select the .xmp files. On mobile, access this via the three dots at the top of the edit screen. Presets sync automatically to all your devices via Adobe Creative Cloud.
Capture One (.costyle)
Open Capture One and go to the Styles panel in the Color tool. Click the arrow menu next to "Styles" and choose "Import Styles". Select the .costyle files. The styles are then immediately available in the Styles panel and can be applied to any selected photo or multiple photos at once.
DaVinci Resolve / Premiere Pro (.cube)
Copy the .cube files to a fixed folder on your drive. In DaVinci Resolve add a Color LUT node and import the .cube file by right-clicking the node. In Premiere Pro use the "Lumetri Color" effect and under "Creative" choose the "Look" option to load the .cube file. The LUT also works in Final Cut Pro via an FCPX Plugin or in Photoshop as an adjustment layer.