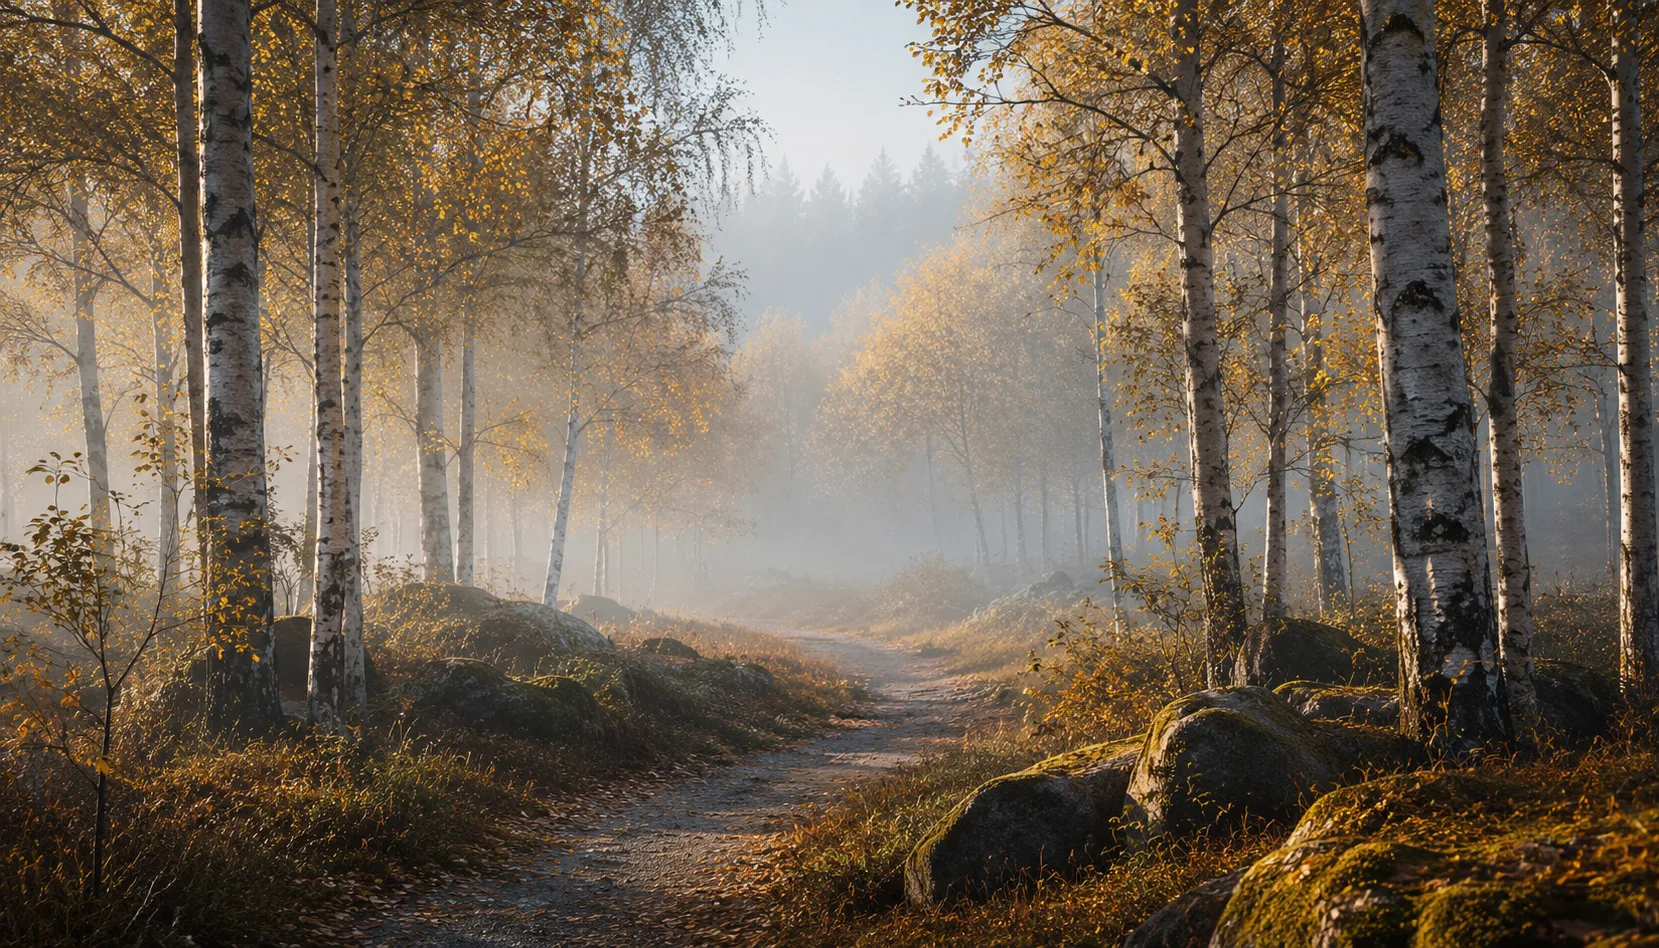
10 presets
Soft skin tones, subtle luminance, and calm backgrounds. Portrait presets that keep the subject central without over-processing the image. Works well in natural light and studio settings.
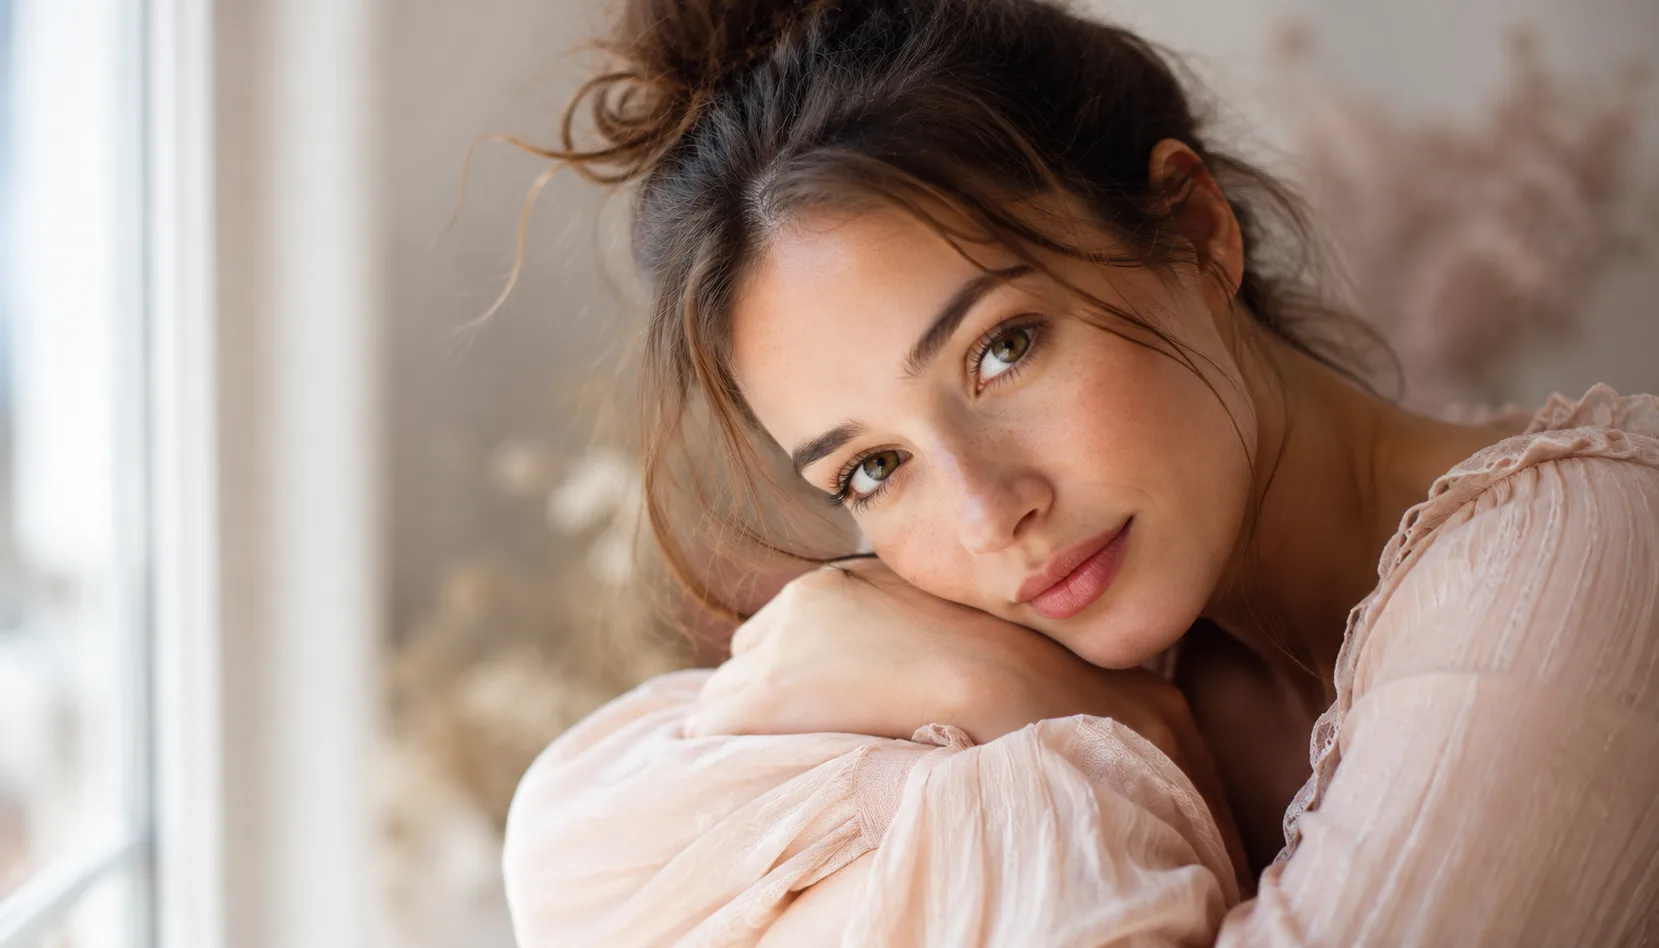
Portrait Soft
All looks on one photo
The same photo, every preset. Switch the test image to see how the looks hold up.


About Portrait Soft
Portrait Soft is built around one idea: the person in the frame deserves full attention. That means no heavy color grading, no harsh contrast, and no skin tones drifting toward orange or grey. The presets in this pack share a soft foundation, with light that feels present without being forced. Backgrounds step back without losing definition. Skin keeps its texture without every detail becoming a distraction. That visual thread runs through every file in the pack, so you can build cohesive series without manually matching each image to the next.
This pack was made for photographers who take portrait work seriously but prefer a restrained editing style. That includes photographers who are developing a consistent look for the first time, and experienced shooters who want to speed up their post-processing without losing quality. If you work with people, whether in natural light or a studio setting, for families, individuals, or small businesses that need professional headshots, these presets fit that work well. They also suit couples portraits, maternity photography, and editorial projects where the tone needs to stay calm and timeless.
In practice, the presets perform best in soft, diffused daylight, think overcast skies or open shade, and in studio setups using softboxes or large windows. Light to medium skin tones respond well to the base settings. For deeper skin tones, a small exposure adjustment is usually all it takes to get the result you want. Neutral, green, or warm backgrounds work naturally with the palette. Busier or more colorful backgrounds may need a little extra attention, but even there the pack gives you a reliable starting point.
Individual presets are useful, but a cohesive pack gives you something more. The files in Portrait Soft are calibrated together, not just in tone but also in how they handle light and color balance across different exposures. That means you can move between presets within a single shoot without one image looking like it came from a completely different session. For photographers working in volume or delivering curated client galleries, that consistency saves real time in the editing room.
To bring the pack into your workflow, import the presets into Lightroom Classic or Lightroom CC and save them in a dedicated folder. If you shoot multiple portrait sessions regularly, linking the pack to your portrait catalog as a default starting point keeps things organized. Start with one preset as your base edit, adjust exposure and white balance to match the specific shot, then use the other files as tonal variations. That approach gives you a fast editing routine that still leaves room to work with what each image actually needs.
What's included in the download?
Presets for Lightroom Classic and Lightroom Desktop. Import via the Presets panel in the Develop module. Works on RAW and JPEG.
Capture One styles. Import via the Styles panel. Compatible with Capture One Pro and Capture One Express for Sony, Fujifilm and Nikon.
3D LUT for use in DaVinci Resolve, Adobe Premiere Pro, Final Cut Pro and other video software. Also works in Photoshop via Camera Raw or as a Color Lookup adjustment layer.
Installation instructions for Lightroom, Capture One and video software. Step by step.
Installation
Lightroom Classic (.xmp)
Open Lightroom Classic and go to the Develop module. In the Presets panel, click the plus icon and choose "Import Presets". Select the .xmp files from the unzipped folder. After import the presets appear in your chosen folder and are immediately available for all photos in your library.
Lightroom (mobile and desktop app)
Open a photo in Lightroom. Tap "Presets" at the bottom, then tap the three-dot menu in the top right. Choose "Import Presets" and select the .xmp files. On mobile, access this via the three dots at the top of the edit screen. Presets sync automatically to all your devices via Adobe Creative Cloud.
Capture One (.costyle)
Open Capture One and go to the Styles panel in the Color tool. Click the arrow menu next to "Styles" and choose "Import Styles". Select the .costyle files. The styles are then immediately available in the Styles panel and can be applied to any selected photo or multiple photos at once.
DaVinci Resolve / Premiere Pro (.cube)
Copy the .cube files to a fixed folder on your drive. In DaVinci Resolve add a Color LUT node and import the .cube file by right-clicking the node. In Premiere Pro use the "Lumetri Color" effect and under "Creative" choose the "Look" option to load the .cube file. The LUT also works in Final Cut Pro via an FCPX Plugin or in Photoshop as an adjustment layer.