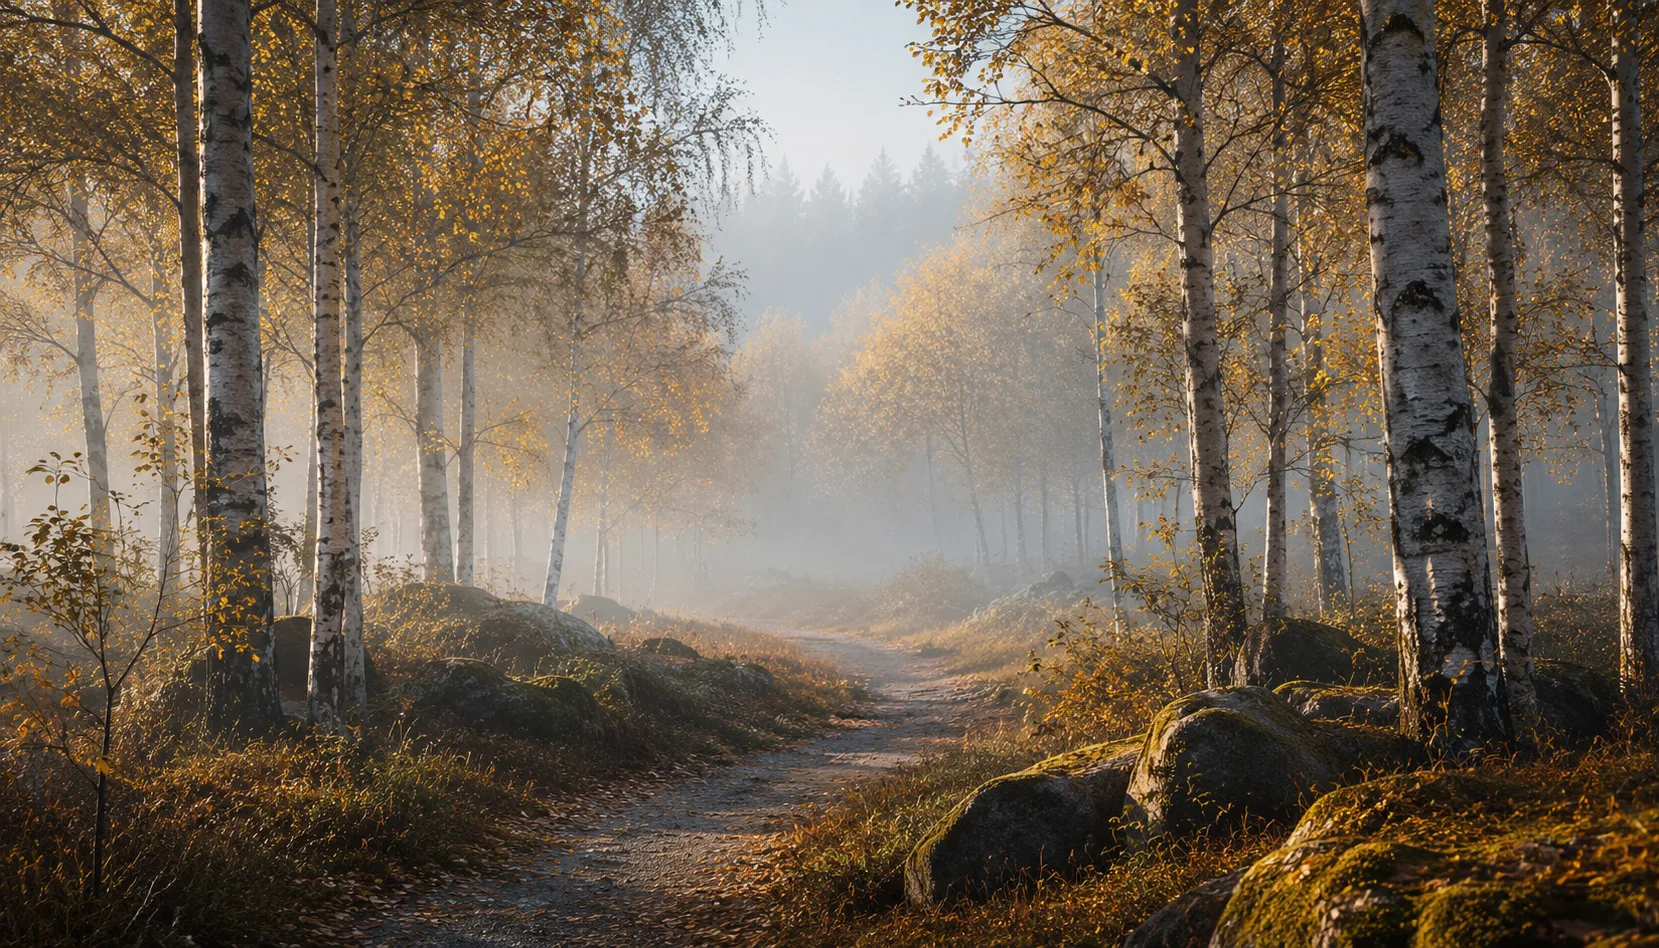
8 presets
Japanese street photography. Neon, sakura, temple, metro. Bright, contrasty, Asian.
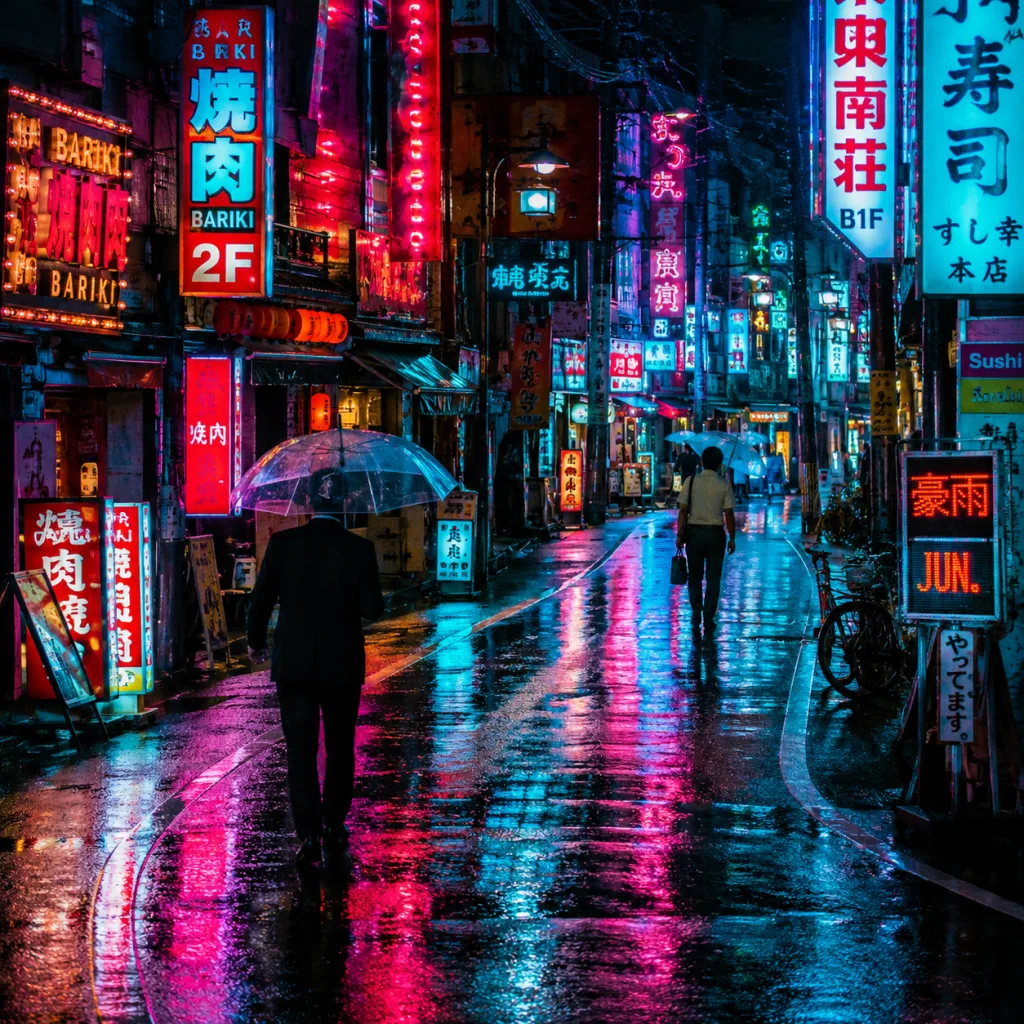
Tokyo
All looks on one photo
The same photo, every preset. Switch the test image to see how the looks hold up.


About Tokyo
Tokyo hits you all at once. Neon signs reflecting off wet pavement. Cherry blossoms above crowded intersections. Wooden temple gates standing a few steps from glass and concrete. The Tokyo preset pack was built around that tension: bright, high-contrast images with a color palette that holds up to the intensity of the city. These are not filters that soften reality. They are edits that bring out what is already there. The through-line across all presets is a specific approach to light and shadow, giving images depth without swallowing detail, paired with color tones that can carry the vibrancy of neon and the softness of sakura at the same time.
This pack is for photographers who walk the street with their eyes open. You do not need to have been to Japan. If you are drawn to urban energy, to the moment where order and chaos meet, these presets will feel right. They work well in Japan, but they are equally at home in Seoul, Hong Kong, or Taipei. The visual logic of neon, concrete, and crowds travels. Portrait photographers working in busy, colorful environments will also find that the presets hold skin tones well while letting the background keep its character.
The Tokyo pack performs best in scenes with strong contrast: night photography, dusk, covered markets, subway entrances. But it holds its character in daytime shooting too, in indirect light or under overcast skies. Think vending machines in a narrow alley, a monk surrounded by tourists, a commuter waiting at a crosswalk. Subjects with texture, depth, or movement get the most out of these edits. JPEG files work fine, but RAW gives you more room to adjust exposure before applying the preset.
What makes a preset collection different from a set of individual files is consistency across a series. The Tokyo presets were developed together, not assembled after the fact. That means you can edit a sequence of images and still get a coherent look, even when the light and conditions vary. For a blog post, a photo series, or a printed book, that coherence matters. Your photos hold together as a set instead of competing with each other.
In your workflow, use the presets as a starting point rather than a final answer. Apply a preset, see what it does to that specific photo, and adjust from there. Exposure and white balance you tune to the shot. The rest you can usually leave alone. In Lightroom Classic, import the presets through the preset folder. In Lightroom CC, use the settings menu to import. After that they show up in the Develop panel and are ready to use. No complicated setup, no plugins needed.
What's included in the download?
Presets for Lightroom Classic and Lightroom Desktop. Import via the Presets panel in the Develop module. Works on RAW and JPEG.
Capture One styles. Import via the Styles panel. Compatible with Capture One Pro and Capture One Express for Sony, Fujifilm and Nikon.
3D LUT for use in DaVinci Resolve, Adobe Premiere Pro, Final Cut Pro and other video software. Also works in Photoshop via Camera Raw or as a Color Lookup adjustment layer.
Installation instructions for Lightroom, Capture One and video software. Step by step.
Installation
Lightroom Classic (.xmp)
Open Lightroom Classic and go to the Develop module. In the Presets panel, click the plus icon and choose "Import Presets". Select the .xmp files from the unzipped folder. After import the presets appear in your chosen folder and are immediately available for all photos in your library.
Lightroom (mobile and desktop app)
Open a photo in Lightroom. Tap "Presets" at the bottom, then tap the three-dot menu in the top right. Choose "Import Presets" and select the .xmp files. On mobile, access this via the three dots at the top of the edit screen. Presets sync automatically to all your devices via Adobe Creative Cloud.
Capture One (.costyle)
Open Capture One and go to the Styles panel in the Color tool. Click the arrow menu next to "Styles" and choose "Import Styles". Select the .costyle files. The styles are then immediately available in the Styles panel and can be applied to any selected photo or multiple photos at once.
DaVinci Resolve / Premiere Pro (.cube)
Copy the .cube files to a fixed folder on your drive. In DaVinci Resolve add a Color LUT node and import the .cube file by right-clicking the node. In Premiere Pro use the "Lumetri Color" effect and under "Creative" choose the "Look" option to load the .cube file. The LUT also works in Final Cut Pro via an FCPX Plugin or in Photoshop as an adjustment layer.