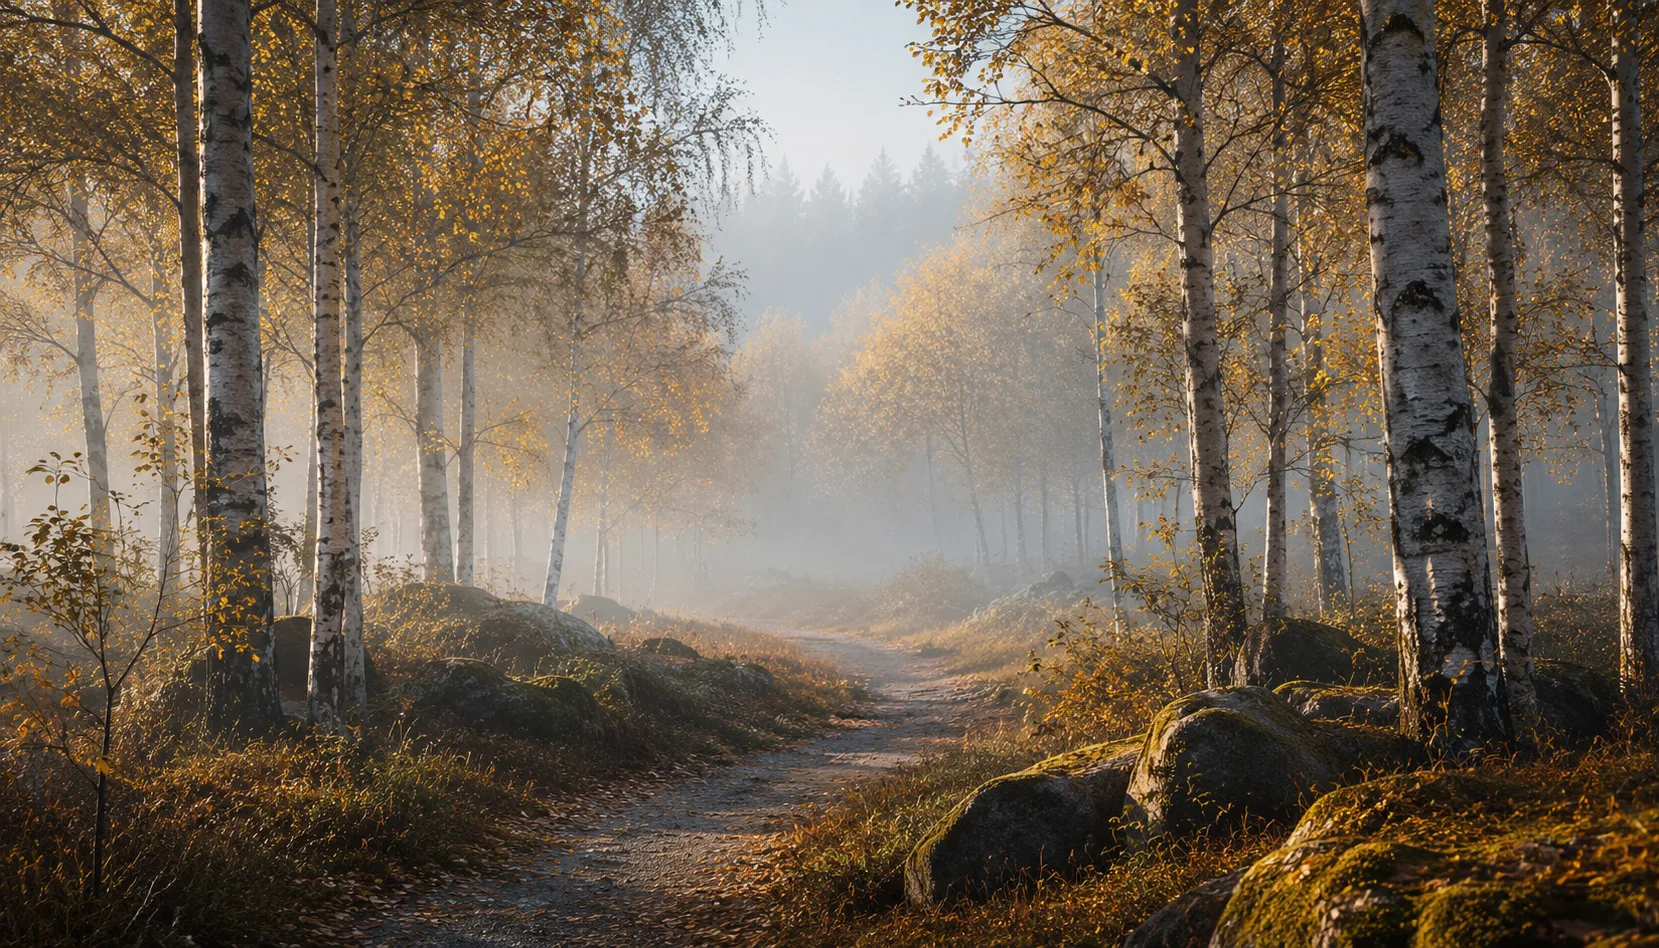
10 presets
Urban colour palettes based on iconic cities. From the cool grey of Berlin to the warm ochre of Lisbon. Gives architectural and street imagery a distinctive atmosphere.

Urban Explorer


About Urban Explorer
Every city has its own quality of light. Berlin filters daylight through cloud cover and concrete, giving its streets a cooler, harder look. Lisbon does the opposite: azulejos reflect warm, golden light that softens the shadows. Urban Explorer is built around those city-specific colour palettes. Not as a decorative effect, but as visual logic. The presets translate the atmosphere of a place into an image language you recognise immediately, without having to figure out how to achieve that technically.
This pack is made for photographers who work in urban environments and struggle to find consistency in their editing. You shoot on location, in changing light, at different times of day, and back at the screen you end up with a collection of files that feel scattered in mood and tone. Urban Explorer gives you a starting point that fits the subject. Not a filter applied uniformly, but an approach that connects to how a city actually looks.
The presets work best for architectural photography, street photography and urban exploration. Facades, street scenes, windows, staircases, markets, metro stations. Anywhere that urban structure drives the composition. They also hold up well for portraits shot on location in the city, especially when the environment plays a role in the image. Colours are not neutralised, they are directed. A cool shadow stays cool. A warm stone wall gets a little more weight. That distinction is what separates a photo that happens to look good from one that feels deliberate.
The value of a collection is in the coherence. Every preset in Urban Explorer is calibrated against the others, so a series of photographs, taken across different locations or with different cameras, holds together visually. You are not making a new creative decision each time. That decision has already been made, and the presets keep you on track. A single standalone preset cannot offer that.
In your workflow, the easiest approach is to start by choosing the preset that comes closest to your location or the mood you are after, apply it across the whole series, and then adjust exposure or white balance per image from there. That keeps things fast and consistent. The presets are built in Lightroom Classic and work in Lightroom CC as well. They have been tested on RAW files from common camera systems and rarely need significant correction afterwards.
What's included in the download?
Presets for Lightroom Classic and Lightroom Desktop. Import via the Presets panel in the Develop module. Works on RAW and JPEG.
Capture One styles. Import via the Styles panel. Compatible with Capture One Pro and Capture One Express for Sony, Fujifilm and Nikon.
3D LUT for use in DaVinci Resolve, Adobe Premiere Pro, Final Cut Pro and other video software. Also works in Photoshop via Camera Raw or as a Color Lookup adjustment layer.
Installation instructions for Lightroom, Capture One and video software. Step by step.
Installation
Lightroom Classic (.xmp)
Open Lightroom Classic and go to the Develop module. In the Presets panel, click the plus icon and choose "Import Presets". Select the .xmp files from the unzipped folder. After import the presets appear in your chosen folder and are immediately available for all photos in your library.
Lightroom (mobile and desktop app)
Open a photo in Lightroom. Tap "Presets" at the bottom, then tap the three-dot menu in the top right. Choose "Import Presets" and select the .xmp files. On mobile, access this via the three dots at the top of the edit screen. Presets sync automatically to all your devices via Adobe Creative Cloud.
Capture One (.costyle)
Open Capture One and go to the Styles panel in the Color tool. Click the arrow menu next to "Styles" and choose "Import Styles". Select the .costyle files. The styles are then immediately available in the Styles panel and can be applied to any selected photo or multiple photos at once.
DaVinci Resolve / Premiere Pro (.cube)
Copy the .cube files to a fixed folder on your drive. In DaVinci Resolve add a Color LUT node and import the .cube file by right-clicking the node. In Premiere Pro use the "Lumetri Color" effect and under "Creative" choose the "Look" option to load the .cube file. The LUT also works in Final Cut Pro via an FCPX Plugin or in Photoshop as an adjustment layer.