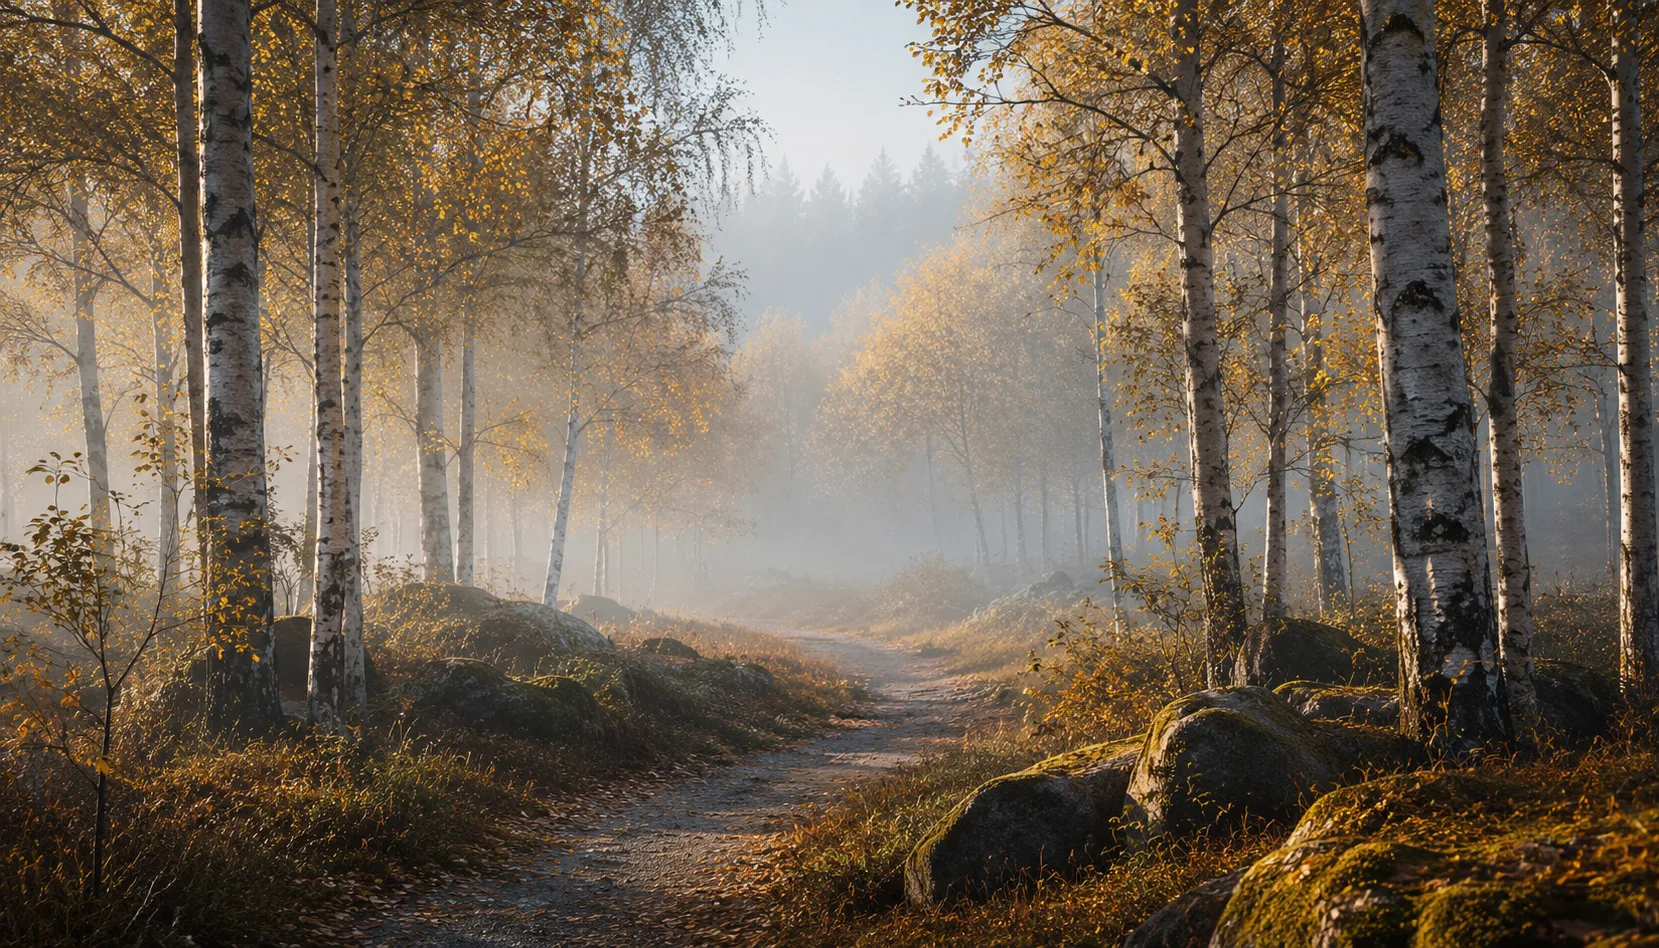
10 presets
Ten looks for the coast. From bright daylight over the tide line to a misty sea in black and white, with warm sand, deep water and salty pastels in between. For anyone shooting by the sea who wants to hold on to that fresh, salty feel.
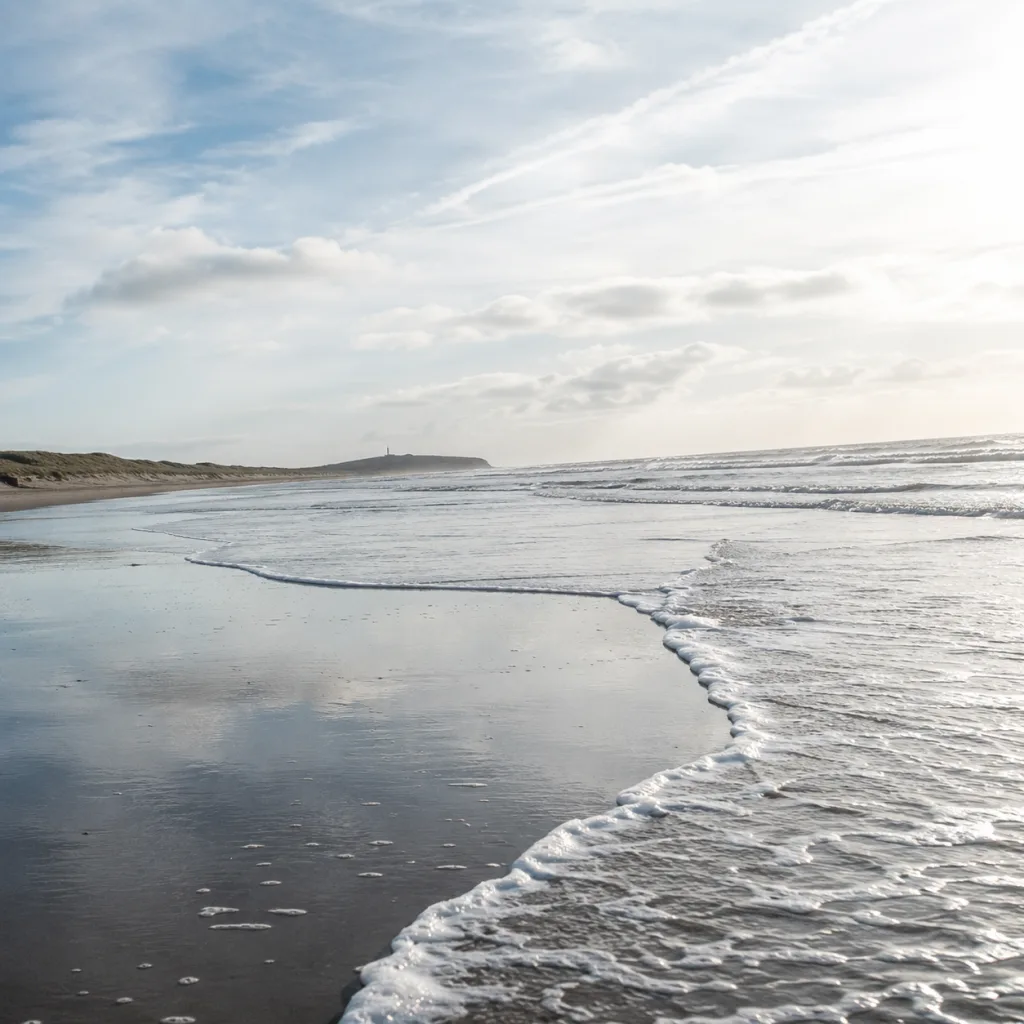
Sea Salt
All looks on one photo
The same photo, every preset. Switch the test image to see how the looks hold up.


About Sea Salt
Sea Salt is built around one recognisable atmosphere: the coast the way it feels when you are standing there. Not the oversaturated Instagram version, but the real light of the sea. Fresh, sometimes sharp, sometimes hazy. The ten presets share that tone even though they range from bright colour to black and white. What connects them is a certain restraint in colour and a slight lean toward cool midtones. Sand stays warm. Water gains depth. Sky breathes.
This pack was made for photographers who shoot at the coast regularly and keep looking for the edit that holds the feeling of a particular day. Whether you photograph people on the beach, surfers in the water, children near the tide line, or simply an empty shore in early morning light, Sea Salt is tuned to the specific light and colour that coastal settings bring. You do not need to be a professional to get good results. It does help to know your own images.
The presets work best in natural daylight. Morning light gives soft results with the warmer options. Overcast, misty conditions suit the cooler and the black-and-white presets well. The salty pastels were made for that oddly pale midday light you sometimes get above open water. Portraits on the beach, with sand and sea in the background, respond well to almost every option in the pack. But detail shots of shells or rope, architectural subjects along the seafront, and landscape frames all work too. The presets are broad enough to use beyond portrait work.
Ten individual presets are ten starting points. As a collection they are more than that. You scroll through the options and immediately see how your photo responds to different moods, from pale pastels to deep black-and-white contrast. That comparison gives you direction. You are not choosing at random, you are choosing with context. It saves time and the results tend to be more considered.
You install the pack in Lightroom Classic or Lightroom through the standard preset import step. After that they sit ready in your preset panel. Open a photo, click a preset, adjust exposure and light values where needed. Most images are finished with small corrections. If you are working through a series from the same day and the same light, you can sync your chosen preset across the whole selection. That is the workflow.
What's included in the download?
Presets for Lightroom Classic and Lightroom Desktop. Import via the Presets panel in the Develop module. Works on RAW and JPEG.
Capture One styles. Import via the Styles panel. Compatible with Capture One Pro and Capture One Express for Sony, Fujifilm and Nikon.
3D LUT for use in DaVinci Resolve, Adobe Premiere Pro, Final Cut Pro and other video software. Also works in Photoshop via Camera Raw or as a Color Lookup adjustment layer.
Installation instructions for Lightroom, Capture One and video software. Step by step.
Installation
Lightroom Classic (.xmp)
Open Lightroom Classic and go to the Develop module. In the Presets panel, click the plus icon and choose "Import Presets". Select the .xmp files from the unzipped folder. After import the presets appear in your chosen folder and are immediately available for all photos in your library.
Lightroom (mobile and desktop app)
Open a photo in Lightroom. Tap "Presets" at the bottom, then tap the three-dot menu in the top right. Choose "Import Presets" and select the .xmp files. On mobile, access this via the three dots at the top of the edit screen. Presets sync automatically to all your devices via Adobe Creative Cloud.
Capture One (.costyle)
Open Capture One and go to the Styles panel in the Color tool. Click the arrow menu next to "Styles" and choose "Import Styles". Select the .costyle files. The styles are then immediately available in the Styles panel and can be applied to any selected photo or multiple photos at once.
DaVinci Resolve / Premiere Pro (.cube)
Copy the .cube files to a fixed folder on your drive. In DaVinci Resolve add a Color LUT node and import the .cube file by right-clicking the node. In Premiere Pro use the "Lumetri Color" effect and under "Creative" choose the "Look" option to load the .cube file. The LUT also works in Final Cut Pro via an FCPX Plugin or in Photoshop as an adjustment layer.