10 presets
Ten presets, ten crafts. From the glow of the forge to the pastels of the florist. Each with its own core colours, warm and authentic, with an eye for material and texture.
Premium pack
Available with an active subscription.
View subscriptions
Crafts
All looks on one photo
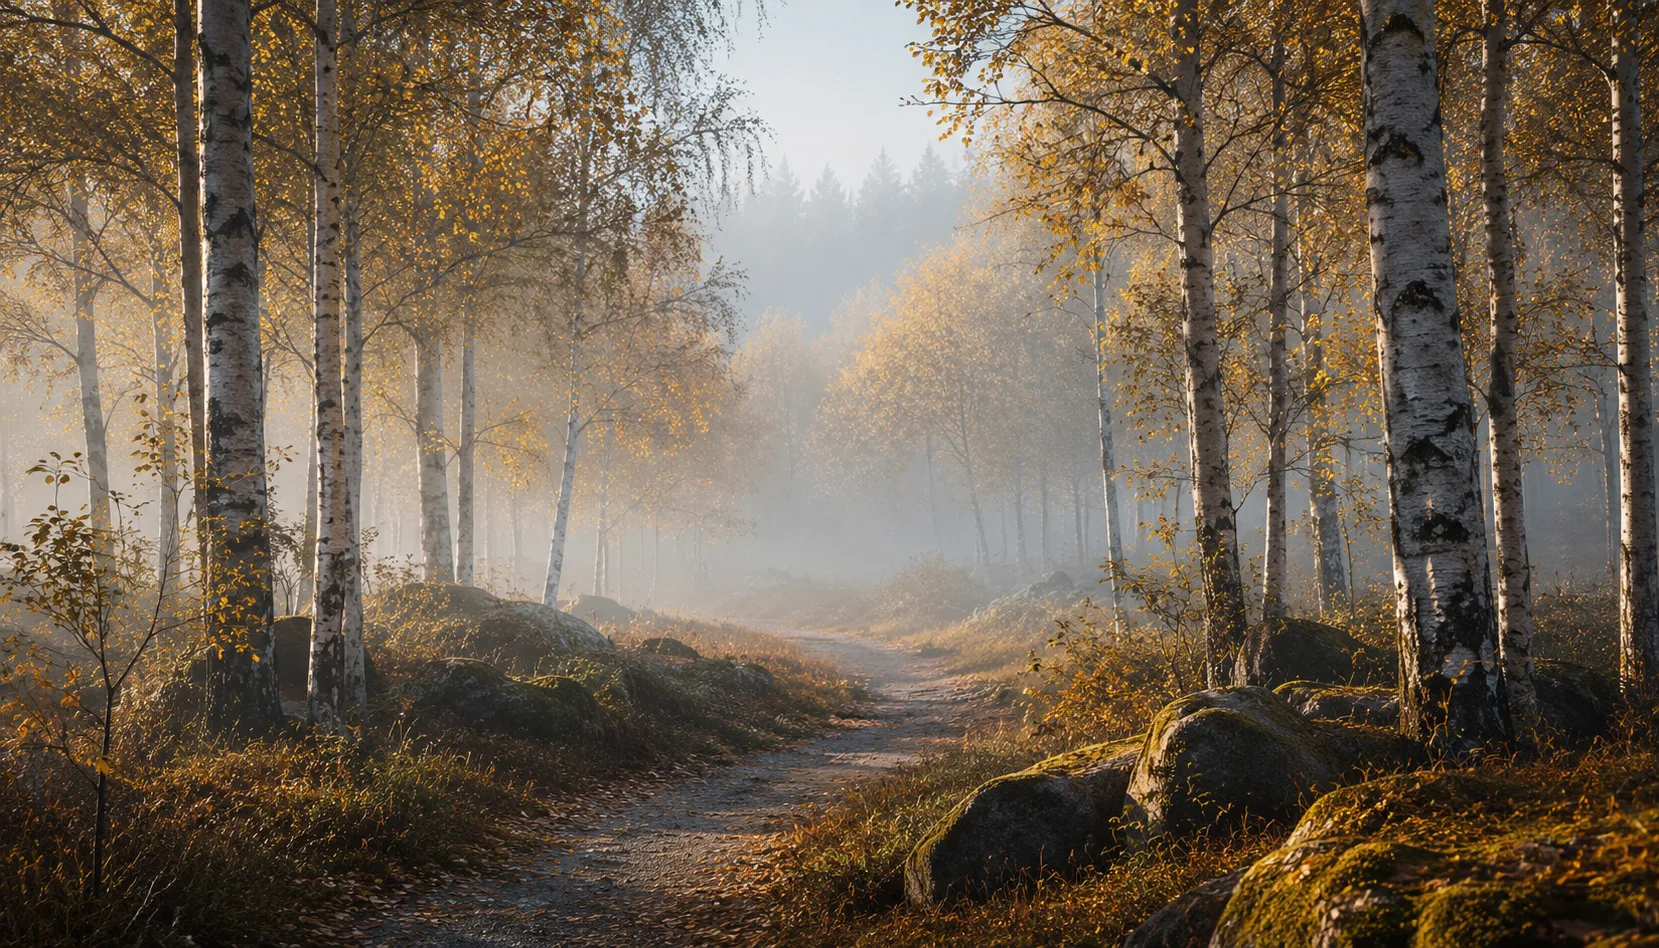
The same photo, every preset. Switch the test image to see how the looks hold up.


About Crafts
Crafts is about material. The eight presets in this pack share one visual thread: warm tones that respect the colour of the object, slightly deeper shadows, and a treatment of texture that stays soft without disappearing. No dramatic colour shifts, no artificial layer over the image. What you see is what was there, just stated a little more clearly.
This pack was made for photographers who document craft. That might be a ceramicist photographing her work for a shop or portfolio. A textile artist who needs the colour of yarn to look exactly right. A woodworker who wants the grain of a plank to read without looking retouched. Product photographers who regularly work with handmade objects will also find presets here that ask for less correction afterwards.
The presets work best in soft, indirect daylight. That is not a coincidence: craft has traditionally been photographed this way, near a window, in a studio, on a workbench with light coming in from the side. In those conditions, the warm base settings of Crafts get the most from the scene. Earth tones, natural linen, untreated wood, fired clay, dyed leather: all those materials get their own colour back without you having to build a separate profile for each object. In a lightbox or studio setting most presets still work well, though you may want to nudge the white balance slightly.
The eight presets are not independent files. They were developed as a series, with small variations in temperature and contrast so you can choose by instinct without losing consistency across a set. Whether you are editing ten images from a single collection or working through a mix of materials, the pack keeps your images together. That is what a well-built collection does: it gives you room to move without every photo looking different from the last.
In practice it goes like this: you open a photo, try two or three presets side by side, and pick the one closest to what you had in mind. Then you adjust exposure or colour balance if needed. That is it. The presets are calibrated in Lightroom Classic and also work in Lightroom CC and Camera Raw. They have been tested on raw files from Canon, Nikon and Sony. After import they appear immediately as a folder in your preset panel, ready to use.
What's included in the download?
Presets for Lightroom Classic and Lightroom Desktop. Import via the Presets panel in the Develop module. Works on RAW and JPEG.
Capture One styles. Import via the Styles panel. Compatible with Capture One Pro and Capture One Express for Sony, Fujifilm and Nikon.
3D LUT for use in DaVinci Resolve, Adobe Premiere Pro, Final Cut Pro and other video software. Also works in Photoshop via Camera Raw or as a Color Lookup adjustment layer.
Installation instructions for Lightroom, Capture One and video software. Step by step.
Installation
Lightroom Classic (.xmp)
Open Lightroom Classic and go to the Develop module. In the Presets panel, click the plus icon and choose "Import Presets". Select the .xmp files from the unzipped folder. After import the presets appear in your chosen folder and are immediately available for all photos in your library.
Lightroom (mobile and desktop app)
Open a photo in Lightroom. Tap "Presets" at the bottom, then tap the three-dot menu in the top right. Choose "Import Presets" and select the .xmp files. On mobile, access this via the three dots at the top of the edit screen. Presets sync automatically to all your devices via Adobe Creative Cloud.
Capture One (.costyle)
Open Capture One and go to the Styles panel in the Color tool. Click the arrow menu next to "Styles" and choose "Import Styles". Select the .costyle files. The styles are then immediately available in the Styles panel and can be applied to any selected photo or multiple photos at once.
DaVinci Resolve / Premiere Pro (.cube)
Copy the .cube files to a fixed folder on your drive. In DaVinci Resolve add a Color LUT node and import the .cube file by right-clicking the node. In Premiere Pro use the "Lumetri Color" effect and under "Creative" choose the "Look" option to load the .cube file. The LUT also works in Final Cut Pro via an FCPX Plugin or in Photoshop as an adjustment layer.