10 presets
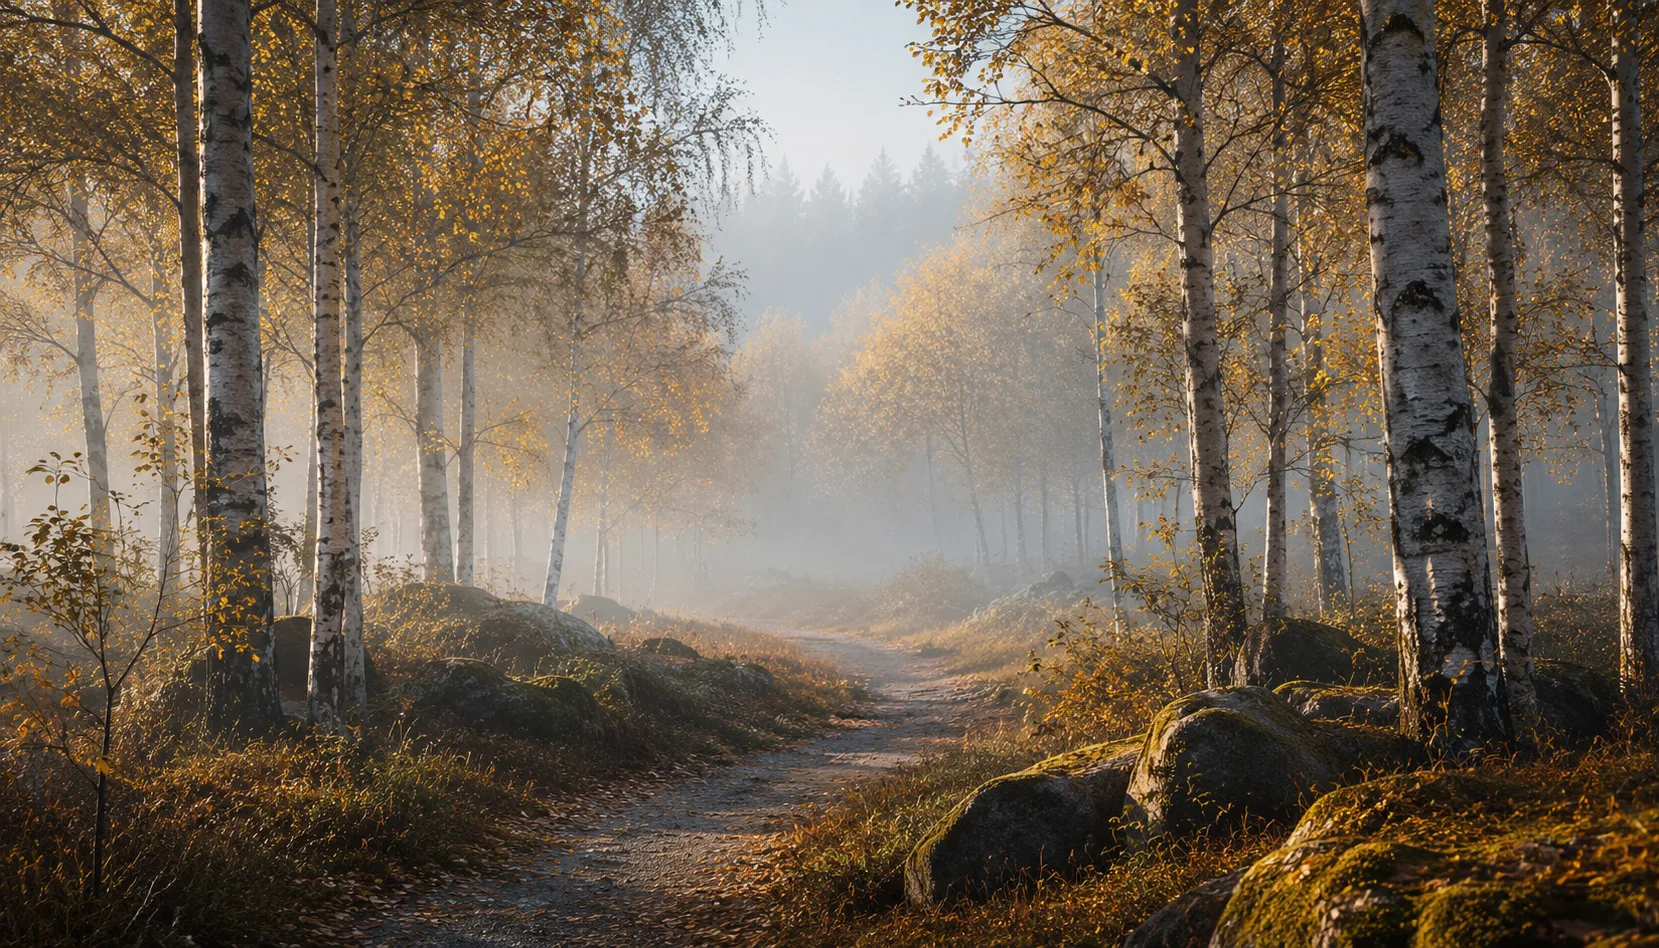
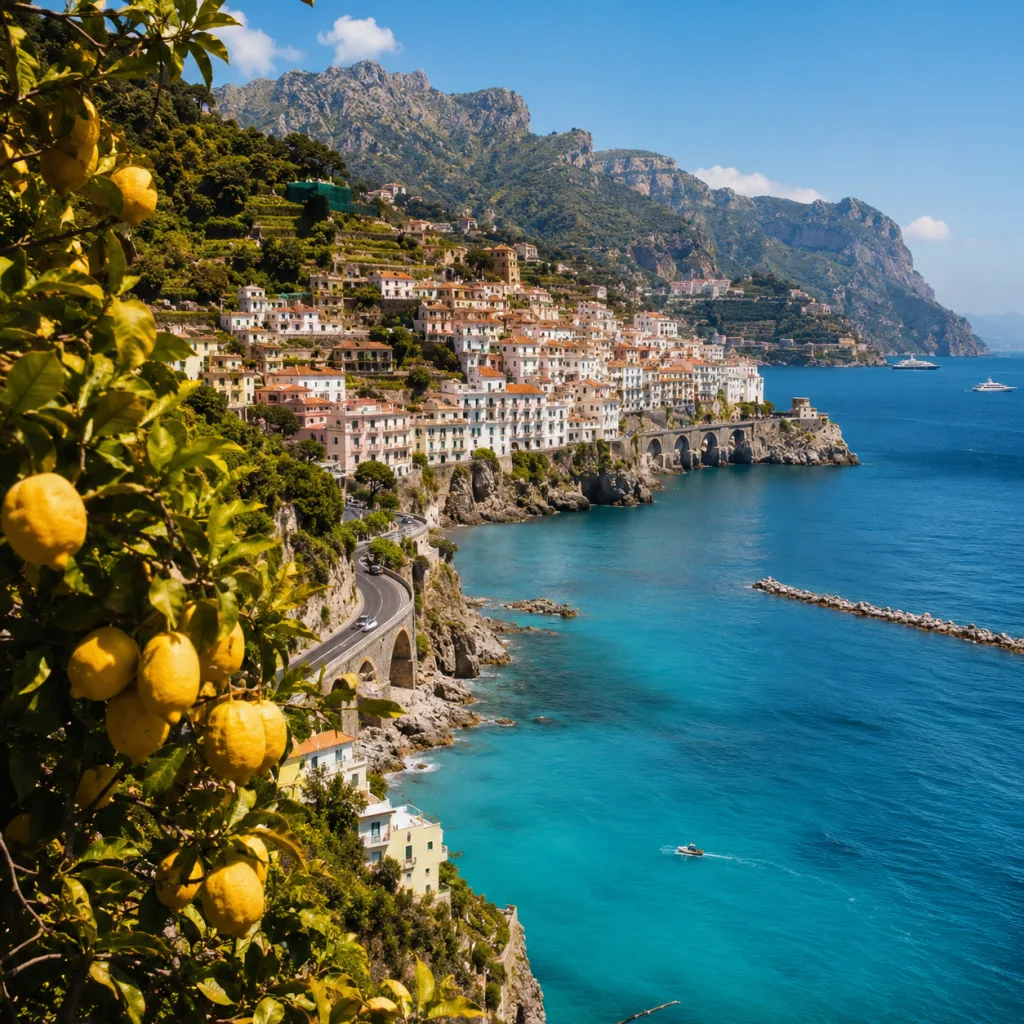
A visual journey through Europe — ten countries, each with their own colour palette and atmosphere.
Countries
All looks on one photo
The same photo, every preset. Switch the test image to see how the looks hold up.


About Countries
Countries started as a personal archive. After years of travelling through Europe, I noticed that every country has its own light. Portugal filters sunlight differently than Finland does. The streets of Naples almost reach through your screen, while a Polish winter asks for an entirely different kind of quiet. That visual identity is what holds this pack together. Not one look for everything, but ten palettes that each come from somewhere specific. They work together because they grew out of the same journey, but each one tells a different part of that story.
This pack was made for photographers who travel and document. Street photographers searching for everyday moments in unfamiliar cities. Portrait photographers who photograph their subjects in their own environments, in available light. Travel photographers who want to move beyond the postcard perspective. You do not need to be a professional, and you do not need to have travelled across Europe. What matters is that you want your photos to feel something, not just show something.
The presets work best in situations with natural light and real environments. Cold mornings on city streets. Warm afternoons at markets or town squares. Portraits made indoors, next to a window, with some hard sidelight. The texture of walls, the colour of cobblestones, faces caught in a moment of thought. Not every preset will match every place you visit, and that is part of the idea. You choose by instinct, the same way you do when you are shooting.
As separate files, these are just ten presets. As a collection, they say something together. The colour tones are calibrated against each other, the contrast sits in the same range, and the mood shifts gradually from warm to cool and back again. That makes it straightforward to use photos from different countries side by side, in a series, a photobook or a feed, without the whole thing falling apart visually.
Import the pack through Lightroom Classic or the mobile version of Lightroom. Apply a preset to your photo, check the exposure and adjust the exposure slider slightly if needed. That is usually all it takes. When you start a new series, scroll through all ten and pick the preset that sits closest to the atmosphere of your images. Use that as your starting point and work from there. That is how you build a visual style without it feeling forced.
What's included in the download?
Presets for Lightroom Classic and Lightroom Desktop. Import via the Presets panel in the Develop module. Works on RAW and JPEG.
Capture One styles. Import via the Styles panel. Compatible with Capture One Pro and Capture One Express for Sony, Fujifilm and Nikon.
3D LUT for use in DaVinci Resolve, Adobe Premiere Pro, Final Cut Pro and other video software. Also works in Photoshop via Camera Raw or as a Color Lookup adjustment layer.
Installation instructions for Lightroom, Capture One and video software. Step by step.
Installation
Lightroom Classic (.xmp)
Open Lightroom Classic and go to the Develop module. In the Presets panel, click the plus icon and choose "Import Presets". Select the .xmp files from the unzipped folder. After import the presets appear in your chosen folder and are immediately available for all photos in your library.
Lightroom (mobile and desktop app)
Open a photo in Lightroom. Tap "Presets" at the bottom, then tap the three-dot menu in the top right. Choose "Import Presets" and select the .xmp files. On mobile, access this via the three dots at the top of the edit screen. Presets sync automatically to all your devices via Adobe Creative Cloud.
Capture One (.costyle)
Open Capture One and go to the Styles panel in the Color tool. Click the arrow menu next to "Styles" and choose "Import Styles". Select the .costyle files. The styles are then immediately available in the Styles panel and can be applied to any selected photo or multiple photos at once.
DaVinci Resolve / Premiere Pro (.cube)
Copy the .cube files to a fixed folder on your drive. In DaVinci Resolve add a Color LUT node and import the .cube file by right-clicking the node. In Premiere Pro use the "Lumetri Color" effect and under "Creative" choose the "Look" option to load the .cube file. The LUT also works in Final Cut Pro via an FCPX Plugin or in Photoshop as an adjustment layer.