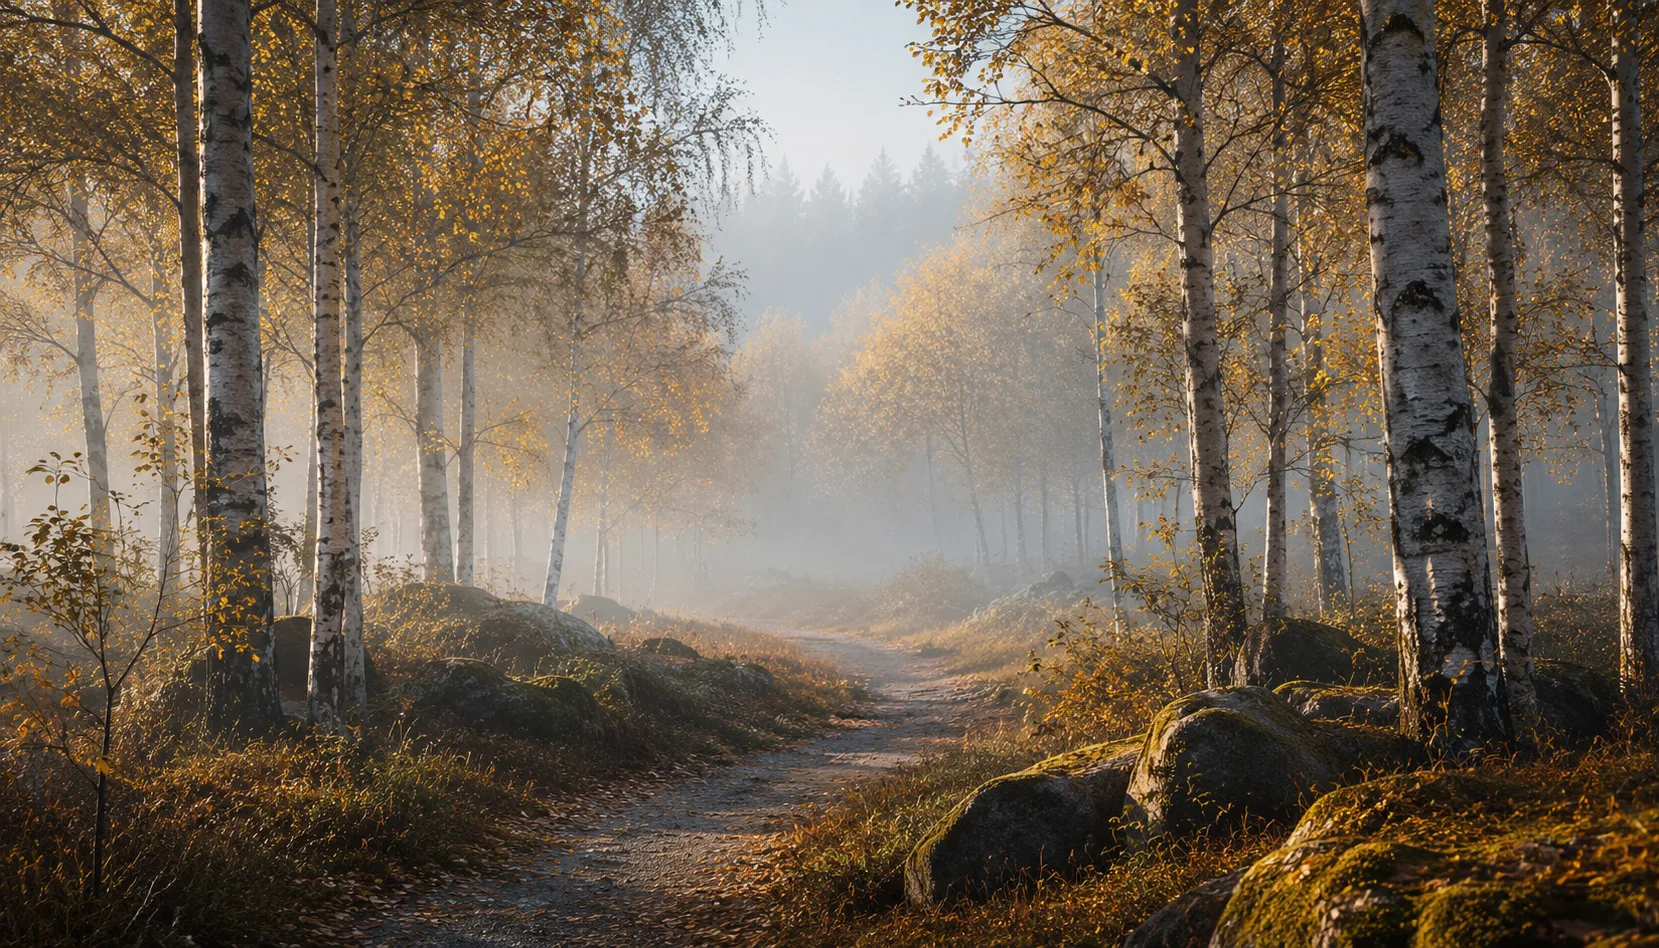
17 presets
Seventeen presets named after fictional photographers — each with their own signature and visual language.
The Masters
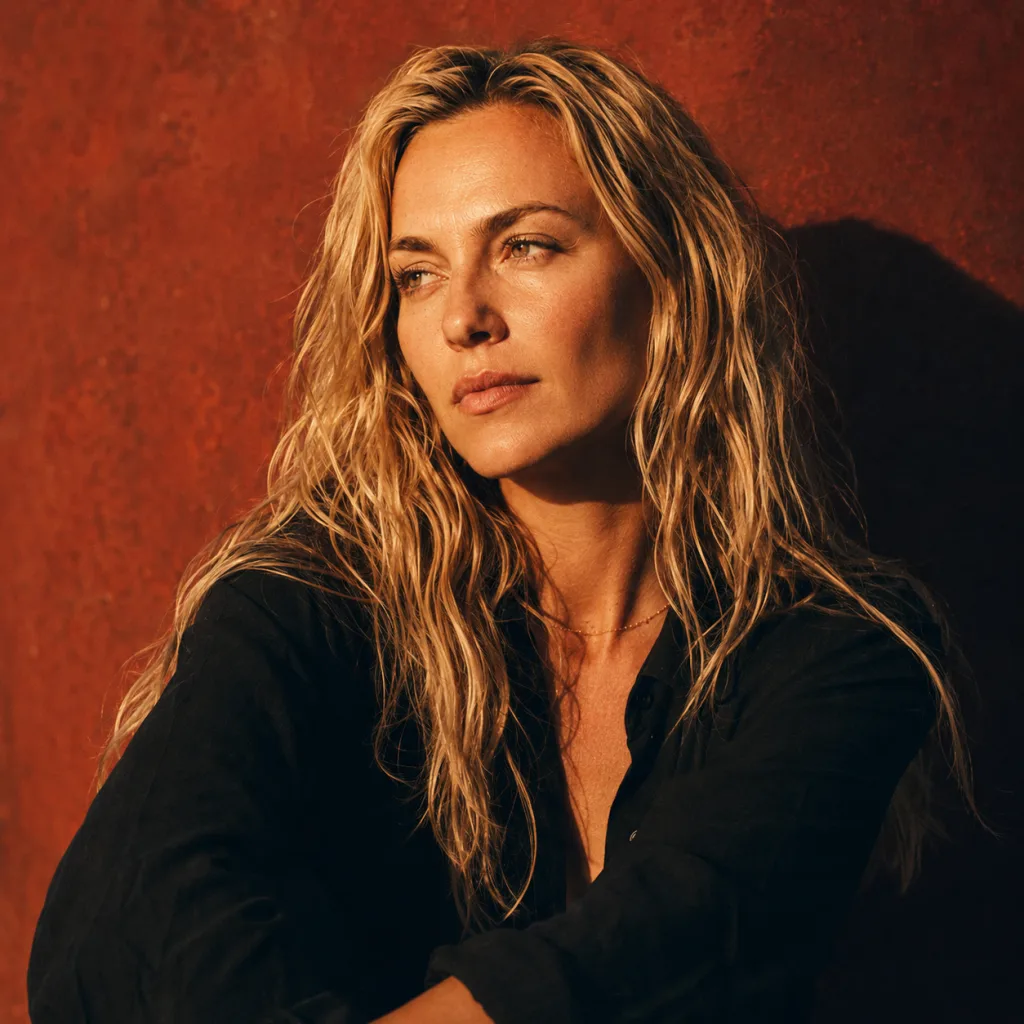
All looks on one photo
The same photo, every preset. Switch the test image to see how the looks hold up.


About The Masters
The Masters is not a random collection of presets thrown together. All seventeen share a common foundation: a restrained approach to color, attention to midtones, and a tone that suggests rather than shouts. No heavy filters, no gimmicks. Each preset is named after a fictional photographer with a distinct visual voice, but the collection as a whole follows one philosophy: the image comes first, the edit serves the image.
This pack is built for photographers who look beyond a quick edit. For those who have spent time with street or portrait photography and find that standard presets feel too generic. For those who want to explore style without starting from scratch every time. The Masters works best when your images already have something in them, interesting light, a strong composition, a moment that worked. The presets strengthen what is already there.
In practice, the pack performs well with urban street photography, portraits in available light, reportage, and documentary work. Scenes with contrast between light and shadow respond particularly well. But quieter images also find their place within the collection, a market on an overcast day, a portrait against a white wall. Some presets lean cooler and more precise, others warmer and more narrative. You choose by feel and adjust where needed.
What makes the collection valuable is the coherence. When you use multiple presets across a series, they hold together. They were developed as a whole, not as seventeen separate products. You notice this when editing a reportage and wanting the images to feel unified. You do not have to search for presets that match each other. That work has already been done.
In Lightroom Classic or Lightroom, place the presets in your favorites or in a dedicated folder. Select a set of images, apply one preset, sync the settings, then make small individual adjustments to exposure or white balance per frame. That way you work efficiently without everything looking identical. The presets are a starting point, not a destination. Michiel designs them with enough room for you to make them your own.
What's included in the download?
Presets for Lightroom Classic and Lightroom Desktop. Import via the Presets panel in the Develop module. Works on RAW and JPEG.
Capture One styles. Import via the Styles panel. Compatible with Capture One Pro and Capture One Express for Sony, Fujifilm and Nikon.
3D LUT for use in DaVinci Resolve, Adobe Premiere Pro, Final Cut Pro and other video software. Also works in Photoshop via Camera Raw or as a Color Lookup adjustment layer.
Installation instructions for Lightroom, Capture One and video software. Step by step.
Installation
Lightroom Classic (.xmp)
Open Lightroom Classic and go to the Develop module. In the Presets panel, click the plus icon and choose "Import Presets". Select the .xmp files from the unzipped folder. After import the presets appear in your chosen folder and are immediately available for all photos in your library.
Lightroom (mobile and desktop app)
Open a photo in Lightroom. Tap "Presets" at the bottom, then tap the three-dot menu in the top right. Choose "Import Presets" and select the .xmp files. On mobile, access this via the three dots at the top of the edit screen. Presets sync automatically to all your devices via Adobe Creative Cloud.
Capture One (.costyle)
Open Capture One and go to the Styles panel in the Color tool. Click the arrow menu next to "Styles" and choose "Import Styles". Select the .costyle files. The styles are then immediately available in the Styles panel and can be applied to any selected photo or multiple photos at once.
DaVinci Resolve / Premiere Pro (.cube)
Copy the .cube files to a fixed folder on your drive. In DaVinci Resolve add a Color LUT node and import the .cube file by right-clicking the node. In Premiere Pro use the "Lumetri Color" effect and under "Creative" choose the "Look" option to load the .cube file. The LUT also works in Final Cut Pro via an FCPX Plugin or in Photoshop as an adjustment layer.